
Installing the License Client
You must install the License Client on all client devices that require to activate a Proficy software.
About this task
Note:
If upgrading License Client with the new drivers,
all Sentinel, or Wibu dependencies are removed.
Before you begin
- You do not need to uninstall earlier versions of any Common Licensing software.
- If you are using a legacy license and have received an upgrade file (*.plic), upgrade the license using this file.
- Before migrating to cloud-based licensing, make sure you remove your existing licenses from License Client.
Procedure
- Navigate to the GE Vernova KB article. You will need to enter your username and password to access it.
-
Enter your user credentials, and click Log in.
The login page appears.
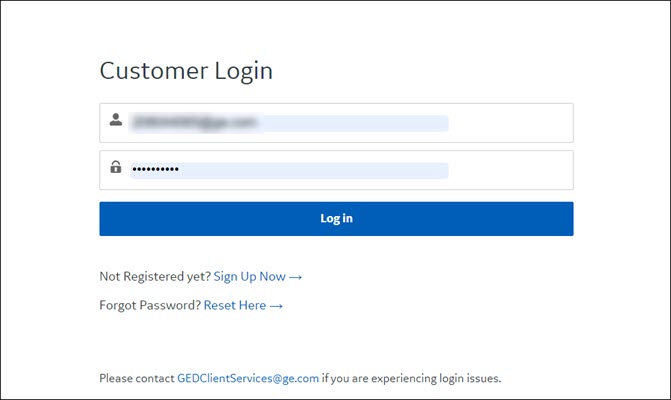
Note:The login details are emailed to you after purchasing a Proficy software. -
In the Attached files section, select the latest version of
CommonLicensing_<version>.exe to start downloading the licensing
software. The licensing software will include all functionalities that can be
managed from the same computer.
Note:It is recommended to download the latest version of the licensing software (CommonLicensing_<version>.exe) when selecting a Proficy product from the Product List page. For detailed instructions, refer to the Downloading a Product ISO File section.
-
Double-click CommonLicensing_<version>.exe.
The Common Licensing installer page appears.

-
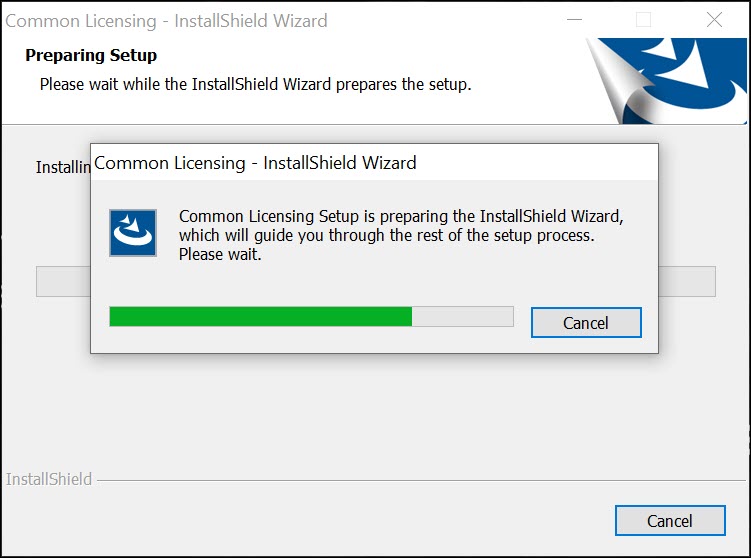
Select Install License Client.
The InstallShield Wizard page appears.
-
Select Next.
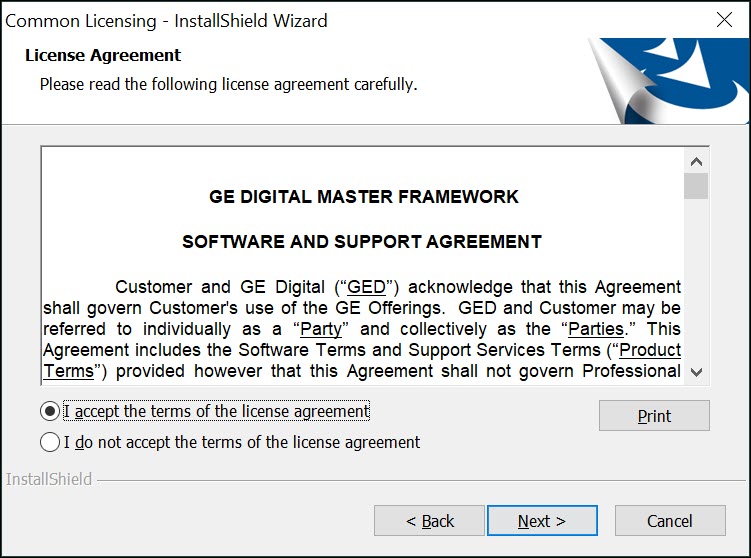
The License Agreement page appears.
-
Select I accept the terms of the license agreement option,
and then select Next.
The Install USB HASP Drivers page appears.

-
If you want to install USB HASP Drivers, select the I wish to install
USB HASP Drivers check box, else skip to step
11.
Important:You need USB HASP Drivers to read information from M4, M5 and Configurable Advantage USB keys.
-
Select Next.
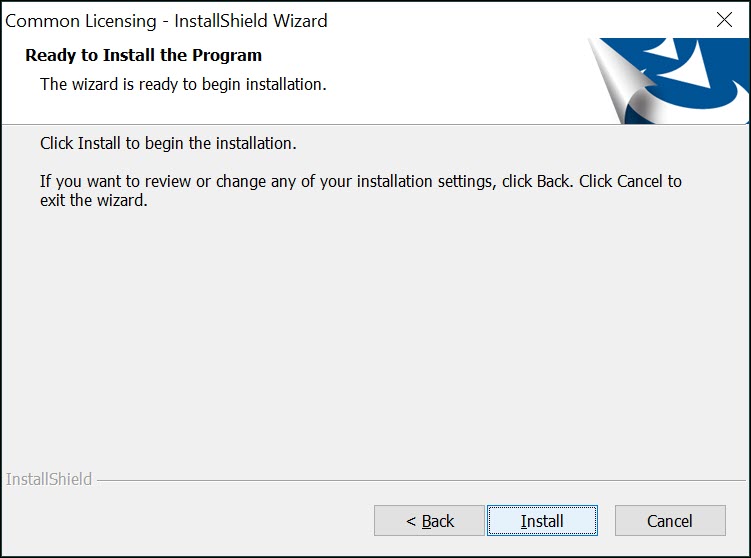
The Ready to Install the Program page appears.
-
Select Install. After the License Client installation
setup completes, the InstallShield Wizard Complete page
appears.
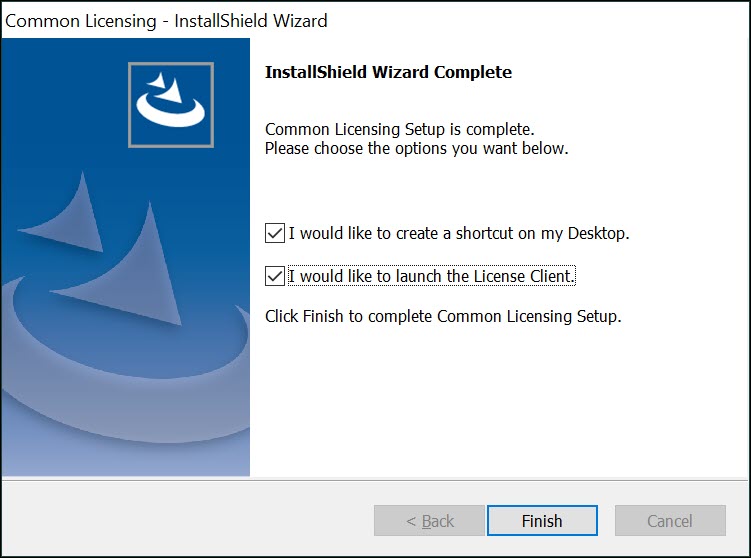
Note:- Select the checkboxes if you want to create a shortcut on your desktop and/or launch the License Client.
- If you are upgrading the Common Licensing, follow the on-screen instructions. After the upgrade, you may be prompted to reboot your system.
-
Select Finish.
The License Client is installed.