
Add Fill Animation
This topic describes how to create fill animation for SVG graphics.
About this task
Note: Modifying graphic templates in an application affect the
rendering of data and animations in the runtime environment. You need to manually
replace the instances of the graphic template with its latest version in all affected
pages. Refer to the table:
| Graphic Template Modifications | What To Do |
|---|---|
| Added new animation | Update graphic instances to see the new animations. |
| Deleted existing animation | Update graphic instances to reflect the changes. |
| Modified visual elements (adding shapes, changing colors, etc.) | No manual action required. Changes are automatically recognized by graphic instances in the runtime. |
Procedure
- Right-click the element you want to animate.
-
Select Add Fill Animation.
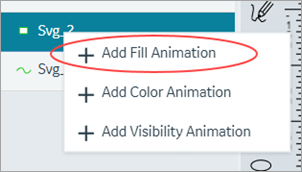 Adds an entry for fill animation under the element.
 - On the Details panel, access the fill animation properties for the entry.
-
Enter information in the following fields:
Need to make distinction between level, min, and max. Each of these three properties have ability to define data item, attribute, and default
Field Name Description Animation Name Provide a name for reference. Color Select a color to fill the SVG element. For example, sets the color of the liquid or the substance represented by the SVG tank. Fill Direction Select from these directional modes, in which a gauge or pump is filled with data: left-to-rightright-to-leftbottom-to-toptop-to-bottom
Level The values entered in this section apply to an object's fill-level, such as the progress of a loading bar or the level of a liquid in a container. Minimum The values entered in this section apply to minimum values of a range. For example, minimum levels of a gauge. Maximum The values entered in this section apply to maximum values of a range. For example, maximum levels of a gauge. Data Item Select the data item you want to apply to the element. See Create Data Item.
Attribute The drop-down list contains several attributes, which can be associated with the data item in order to animate the HMI Graphic. The animation will apply to the selected attribute. Default Value Enter a default value for the selected attribute. This default value is used only when the data source is set to Manual in page designer. See Bind Your Data to Plug-ins.
- On the toolbar, select Save.