The Lubrication Requirement node for which the reading value triggers the conditional Lubrication Requirements to appear.
-or-
- The Checkpoint Condition node that is linked to the Lubrication Requirement and below which you want a new Checkpoint Condition node to appear.
In the left pane, select
A new Checkpoint Condition is created, and appears below the selected Lubrication Requirement or Checkpoint Condition node.

On the upper-right corner of the datasheet, select
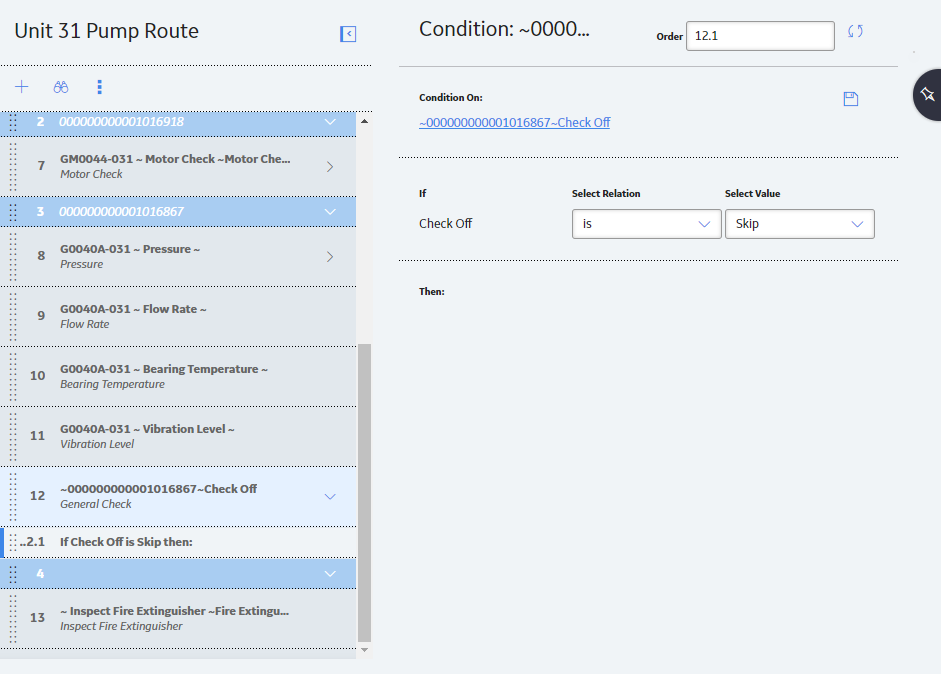
The Checkpoint Condition is saved. The Checkpoint Condition node displays part of the final condition statement, similar to the one shown in the following image.
If you want to create a new Lubrication Requirement, select New LR.
-or-
If you want to add a existing Lubrication Requirement, select Existing ML / LR.
-or-
- If you want to add a new Lubrication Requirement or group of Lubrication Requirements from template, select Checkpoint Template.
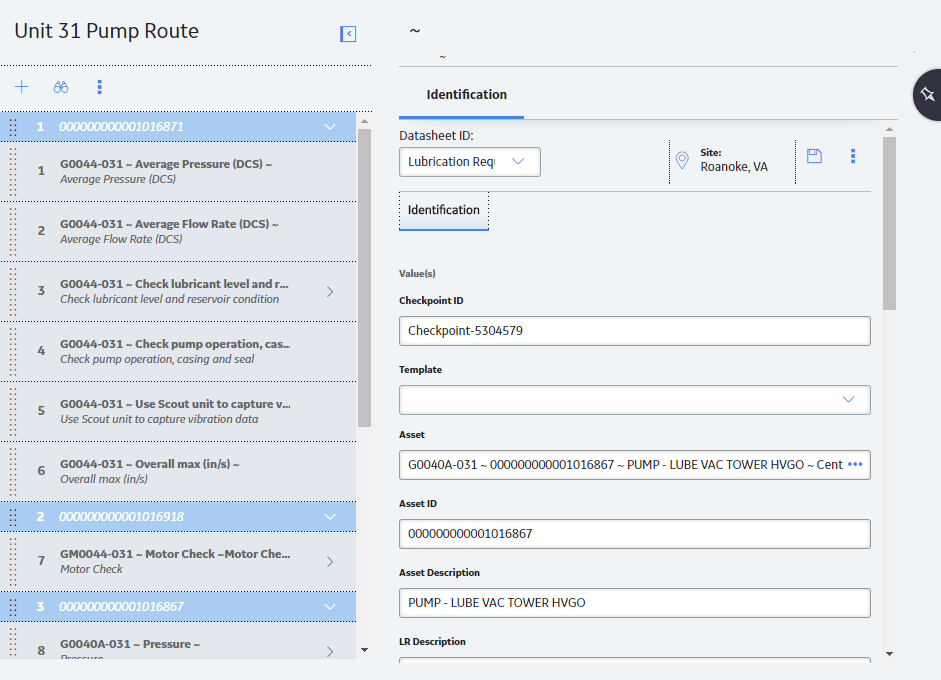
The Lubrication Requirement is added to the Route, and a Lubrication Requirement node appears below the predecessor Checkpoint Condition. In the following image, you can see a new Lubrication Requirement node.
On the upper-right corner of the datasheet, select
The Lubrication Requirement is saved. The condition statement is complete.