Jump to main content
Modify a Historian Plugin Display Name
Procedure
-
Double-click the Configuration Hub icon on your desktop (
 ).
).
The
Configuration Hub login page appears.
-
Login with the default user credentials. That is <hostname>.admin.
The configuration hub application appears, listing the Historian plugin in
the NAVIGATION section.
-
In the NAVIGATION pane, select and expand
Administration, and then select Node
Manager.
The Node Manager administration page appears, listing the available
Historian node and the plugin.
-
Select and right-click the node, and then select
Manage.
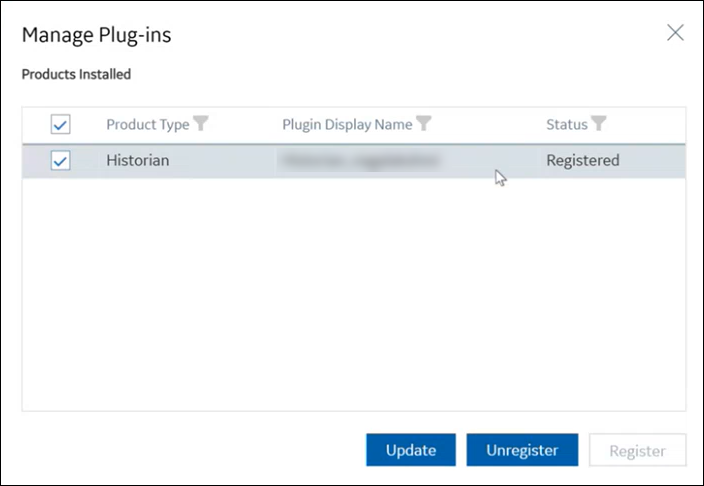
The
Manage Plug-ins window appears.
-
Change the plugin display name and select Update.
The changes you made are updated and applied to the plugin.
