
 Configuration Hub
Add Visibility Animation
This topic describes how to create visibility animation for SVG graphics.
About this task
Procedure
- Right-click the element you want to animate.
-
Select Add Visibility Animation.
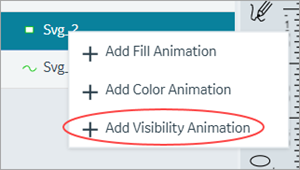 Adds an entry for visibility animation under the element.
 - On the Details panel, access the visibility animation properties for the entry.
-
Enter information in the following fields:
Field Name Description Animation Name Provide a name for reference. Data Item Select the data item you want to apply to the element. See Create Data Item.
Attribute The drop-down list contains several attributes, which can be associated with the data item in order to animate the HMI Graphic. The animation will apply to the selected attribute. Default Value Enter a default value for the selected attribute. This default value is used only when the data source is set to Manual in page designer. See Bind Your Data to Plug-ins.
Visibility Table Configure one or more values to animate the visibility status of the element. To configure visibility status:- Select the + icon.
- Select a logical Operator. For example,
< - Enter a Value. For example,
50 - Select the check box for Visible.
- Select Update.
>=
                              50
with visible check box cleared.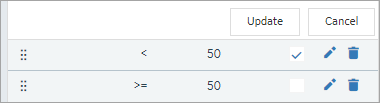
Result: The element is visible only when the value is less than
50. If the value is greater than or equal to50, the element is hidden.The visibility configuration values appear in a table with options to modify and delete them. You can also drag-to-reorder the visibility list.
- On the toolbar, select Save.