The Measurement Location whose reading value that should trigger conditional Measurement Locations to appear.
-or-
- The Checkpoint Condition node that is linked to the Measurement Location and below which you want a new Checkpoint Condition node to appear.
In the left pane, select
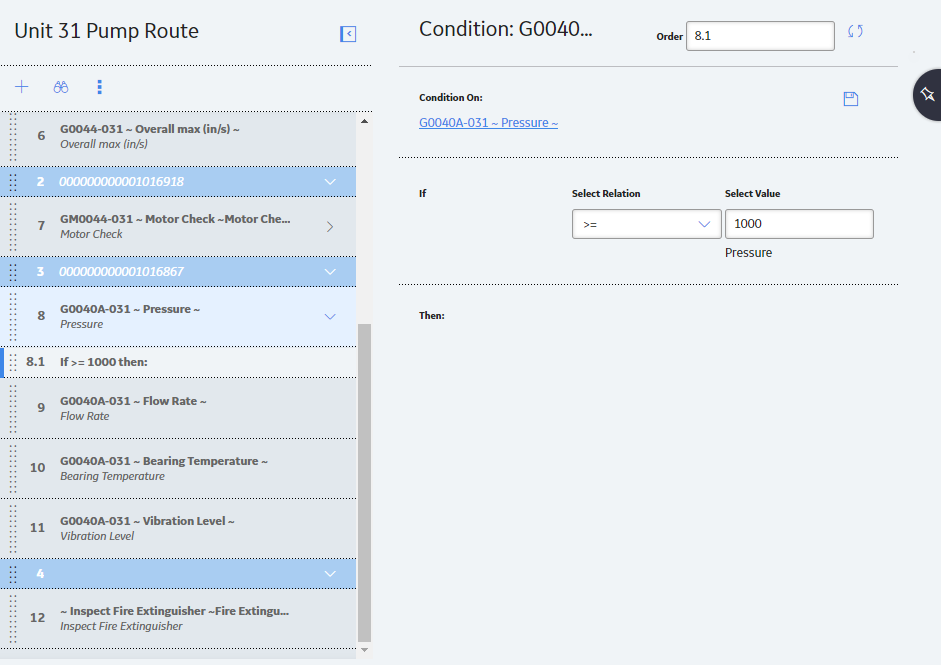
A new Checkpoint Condition is created and appears below the predecessor Measurement Location in the Route pane.

In the Select Relation list, select the desired comparator (i.e. <, <=,=, >=, or >).
On the upper-right corner of the datasheet, select
The Checkpoint Condition is saved.
If you want to create a new Measurement Location, select New ML.
-or-
If you want to add a existing Measurement Location, select Existing ML / LR.
-or-
- If you want to add a new Measurement Location or group of Measurement Locations from template, select Checkpoint Template.
The Measurement Location is added to the Route, and a Measurement Location node appears below the predecessor Checkpoint Condition.
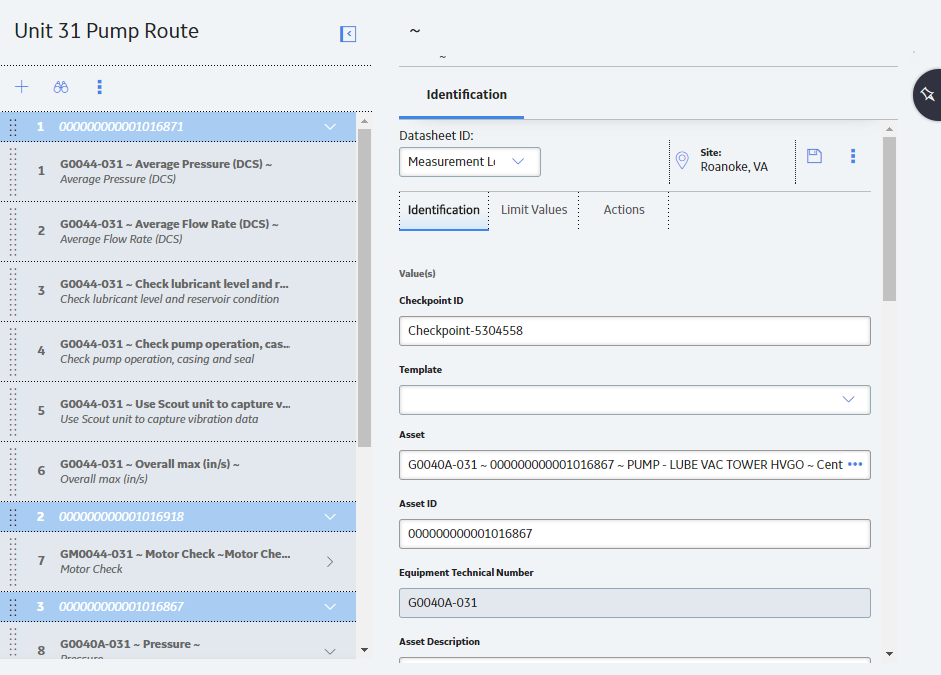
On the upper-right corner of the datasheet, select
The Measurement Location is saved. The condition statement is complete.