
Add a New Project
Use the following steps if you want to add a new project to your node.
Steps to Add a New Project
Procedure
-
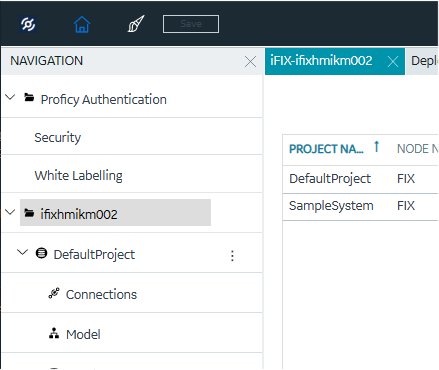
Configuration Hub, on the Navigation panel, click the node
name. This action will open the Project Name panel.
-
Click the + icon at the top of the grid, and select Create new iFIX
project.
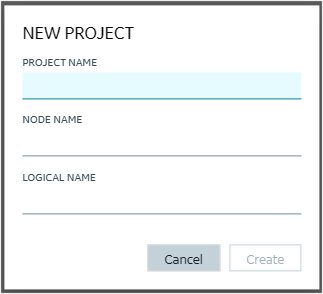
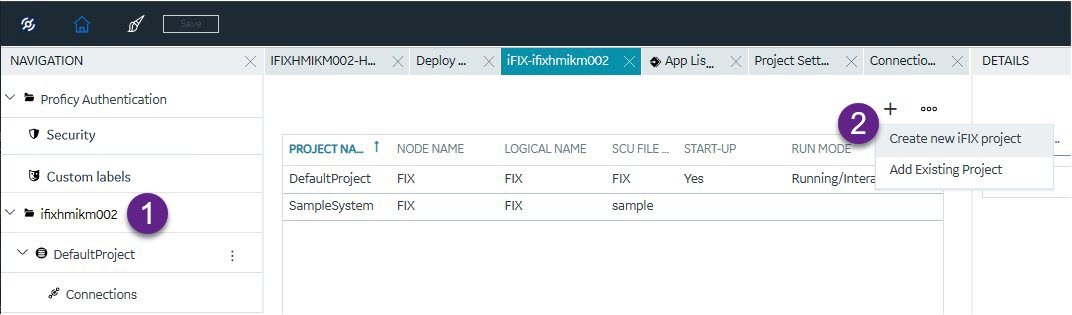 The New Project dialog box appears.
 -
Enter a Project Name, Node Name, and Logical Name, as shown in the following
figure.
-
Click Create.
You should now be able to view the new project from within Configuration Hub or the standard iFIX SCU application.
-
Manually copy any additional driver files to the new project's PDB folder on the
installed iFIX instance. For example, for IGS, copy the Fix.igs or nodename.igs
file from PDB folder in the iFIX install path to the new project's PDB folder.
This copy only needs to be done once when you create the new project.
Important: If you do not copy the driver files, like the one for the IGS I/O Driver, you will not be able to later save and publish your driver updates from Configuration Hub.
If you get error or fail to create a new iFIX project from the Configuration Hub, and iFIX access control is enabled with iFIX is running a service, shut down iFIX and then create the new project.
Troubleshooting
Procedure
- If you have issues publishing your driver changes to your new project, copy the driver files from PDB folder in the iFIX install path to the new project's PDB folder. For example, for IGS, copy the Fix.igs or nodename.igs file from PDB folder in the iFIX install path to the new project's PDB folder.
- If you have issues creating a new project when iFIX is running with access control and enabled as a service, shut down iFIX and then create the new project. After you do that, you can start the project again and create, save, and publish any updated settings.