
Server Certificates for Configuration Hub
Server certificates for Configuration Hub are managed through the Configuration Hub interface.
Introduction
There are two types of Configuration Hub server certificates:
- Self-signed certificates (which are valid for a two-year period)
- External certificates (whose validity depends on the permission granted by the organization's software provider to the user)
Certificate expiration warnings for Configuration Hub are configured to alert users 15 days before and after expiration.
Check the Status of the Configuration Hub Server Certificate
Use the following steps to check the status of your Configuration Hub server-side certificate:- Log into Configuration Hub with Proficy Authentication credentials.
-
In Configuration Hub, from the NAVIGATION panel, open

-
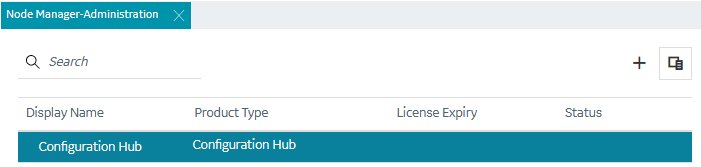
In the Node-Manager-Administration screen, select the Configuration Hub row.
-
On the DETAILS panel, under Certificate Details, view the dates that the certificate is valid. For example, see the following figure which shows the valid date range from 2024-02-22 to 2026-02-21.
 Note: If the certificate is nearing expiration within the next 15 days, a warning indication
 will be displayed in
the Certificate Expiry column. However, if the certificate expires after the 15-day
period, a warning indication
will be displayed in
the Certificate Expiry column. However, if the certificate expires after the 15-day
period, a warning indication  is displayed.
 -
When a certificate expires, it must be updated. Use the following sections to update your server certificates.
Self-Signed Certificates for Configuration Hub
If the Configuration Hub self-signed server certificate has expired, use the following steps to update your self-signed certificates for Configuration Hub:- Log into the Configuration Hub with Proficy Authentication credentials.
- From Configuration Hub, in the NAVIGATION panel, select
 Administration, and then select Node
Manager.
Administration, and then select Node
Manager.The Node Manager-Administration panel appears.
-
Select the Configuration Hub row.
The DETAILS panel appears.
- In the CERTIFICATE DETAILS section, click the Generate
Certificate
 button.
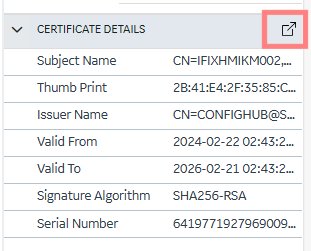
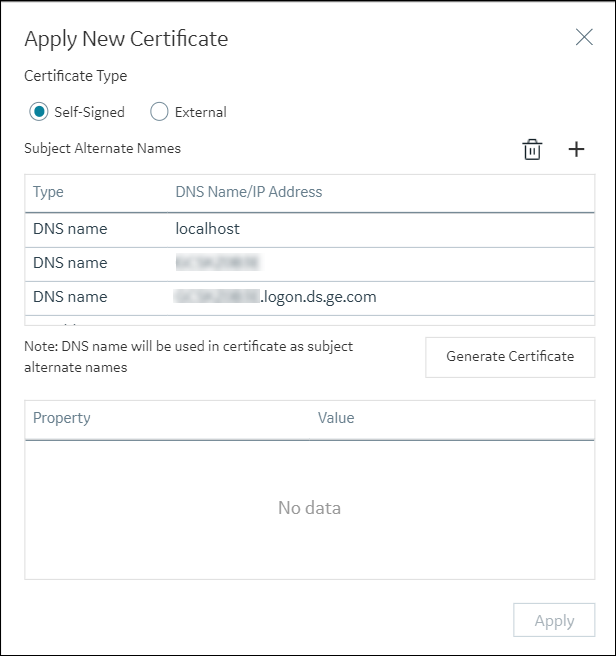
The Apply New Certificate dialog box appears with Self-Signed selected as the default Certificate Type.
-
Leave the Self-Signed certificate type option selected.
The Subject Alternate Names table displays available DNS name types and DNS/IP Address details. Optionally, modify these details as needed by selecting the Type from the drop-down list and update the DNS/IP Address column.
- Click the Generate Certificate button.
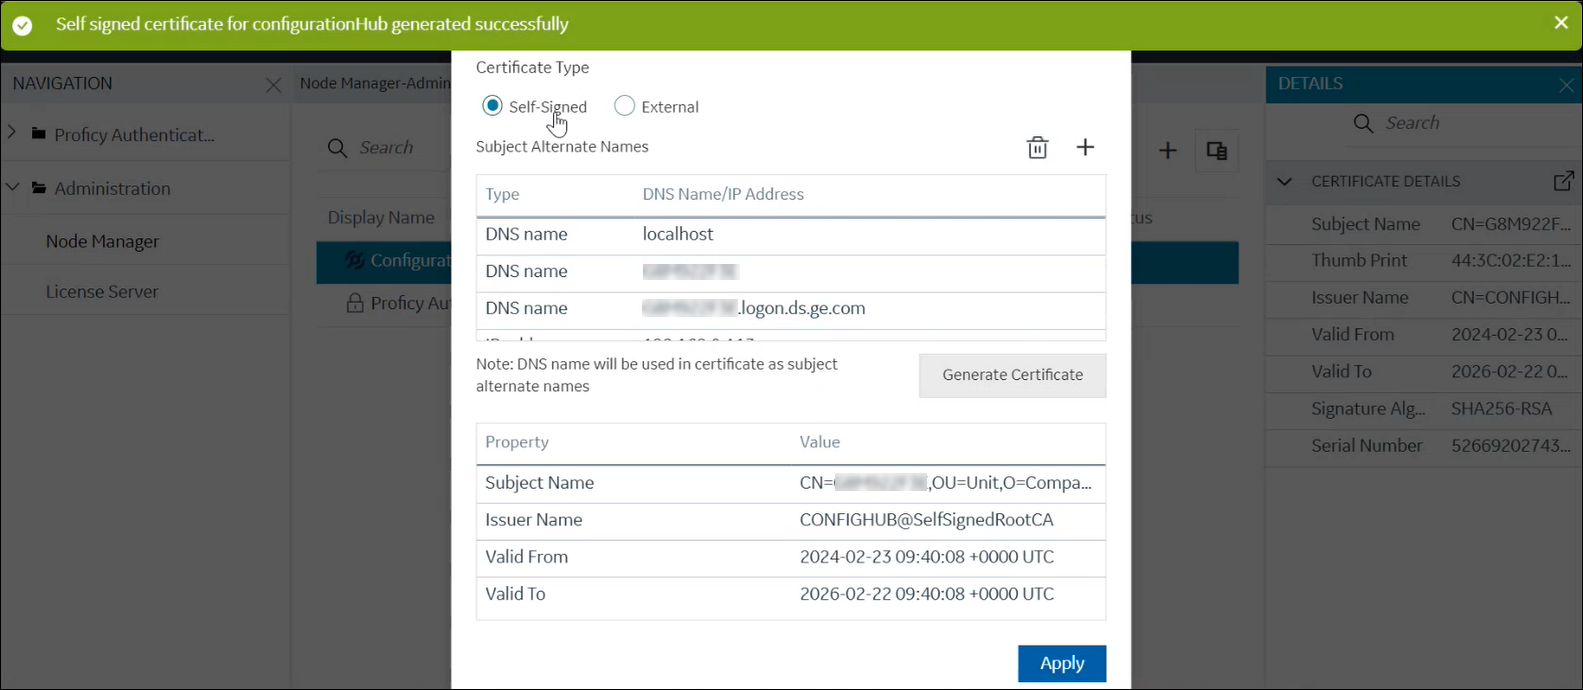
The Self signed certificate for Configuration Hub generated successfully message appears. Configuration Hub will then sign the certificate and it will generate a new one. The new certificate will populate details such as Subject Name, Issuer Name, Valid From, and Valid To values in the grid, as shown in the following figure.
- Click Apply.The Certificates applied successfully message appears.
- The server certificate (server_cert.crt and server_cert.key) is automatically generated and saved in the location: <ConfigurationHub home>\ConfigurationHub\Web\conf and
- The root certificate (CONFIGHUB@SelfSignedRootCA) is automatically stored in the
Windows trusted store.Note: The CONFIGHUB@SelfSignedRootCA certificate in the Windows store will display the details such as Certificate expiration date, Issued to, Issued by, Subject alternate names, and others.
- Restart the browser.
External Certificates for Configuration Hub
Use the following steps to configure an externally issued server certificate for Configuration Hub.
- Log into the Configuration Hub with Proficy Authentication credentials.
- From Configuration Hub, in the NAVIGATION panel, select
Administration, and then select Node
Manager.
The Node Manager-Administration panel appears.
-
Select the Configuration Hub row.
The DETAILS panel appears.
-
In the CERTIFICATE DETIALS section, select Generate Certificate
button.The Apply New Certificate window appears.
-
Select External as a Certificate Type, as shown in the following figure.
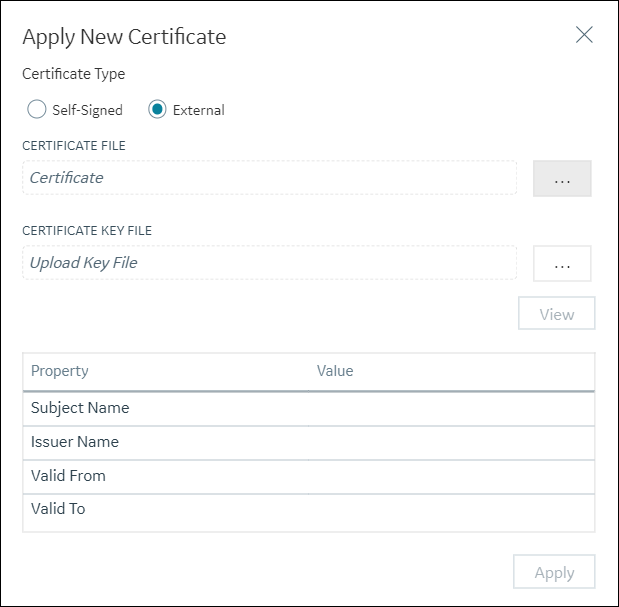 Note: For an External Certificate, the supporting certificates are in .pfx format or, .crt and .key for the pair.
 -
For the CERTIFICATE FILE, select the button
 to upload the
.crt file or .pfx file.Note: Only the .key or .pfx file format is supported here.
to upload the
.crt file or .pfx file.Note: Only the .key or .pfx file format is supported here. - After uploading the certificate file and certificate key file, select View. The details such as Subject Name, Issuer Name, Valid From, and Valid To values will be displayed in the grid.
- Select Apply.
The Certificates applied successfully message appears.