Install Operations Hub
Before you begin
- Ensure that the machine on which you want to install Operations Hub meets the system requirements.
- Use a machine that does not host any applications that are bundled with Operations Hub.
- Run a Windows update (including security updates).
- Use a host name that contains up to 24 characters and any of the following characters:
- Alphabetic characters
- Numeric characters
- Minus
- Period
- Ensure that you have administrative privileges to the machine on which you want to install Operations Hub.
- Ensure that you have port 443 available.
About this task
Note: This topic describes how to install Operations Hub stand-alone (by downloading the installer from Salesforce). If, however, you want to use only the Historian analysis application in Operations Hub, you can choose to install just the Operations Hub add-on for Historian. If you do so, you will not be able to create, modify, or delete any applications or components of applications in Operations Hub.
Procedure
- Run the Operations Hub installation DVD, and then select Install GE Operations Hub 1.5.The Welcome to GE Operations Hub page appears.
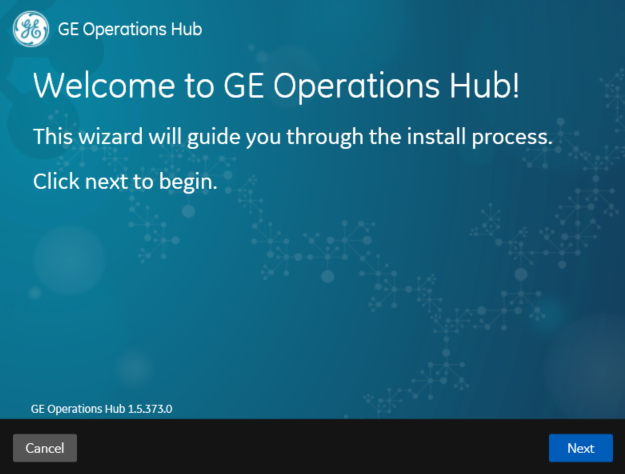
- Select Next.The Read and accept the license agreement to continue page appears.
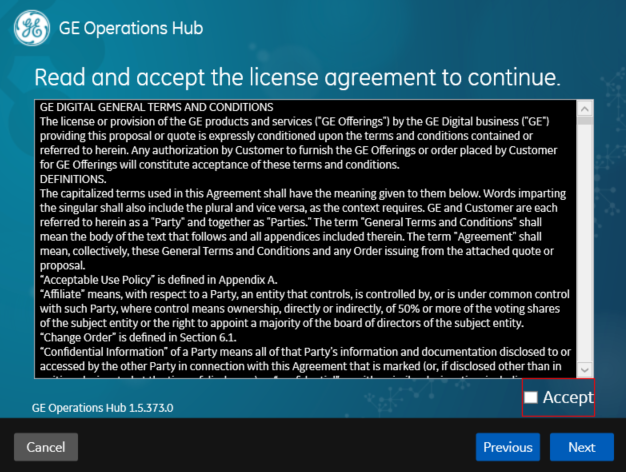
- Select the Accept check box, and then select Next.The TCP port check page appears, specifying whether the ports chosen for Operations Hub are available.
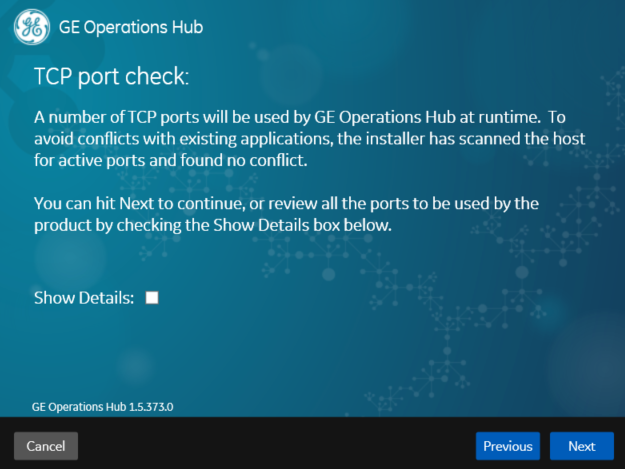
- If you want to review or change the ports that will be used by Operations Hub, select the Show Details check box.The TCP port assignments page appears, providing a list of ports that will be used by the various components in Operations Hub.
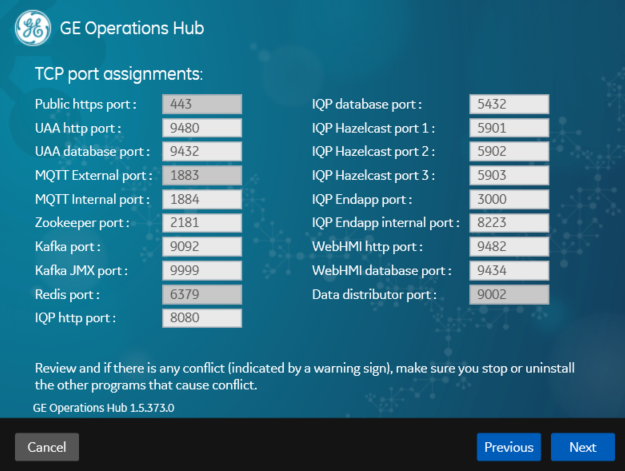
- If needed, modify the port numbers, and then select Next.The Host Names page appears. By default, the All Host Names box contains a value, and the Primary Host Name box is disabled and populated with the first value in the All Host Names box.

- Select Next.The User Authentication and Authorization Service page appears.
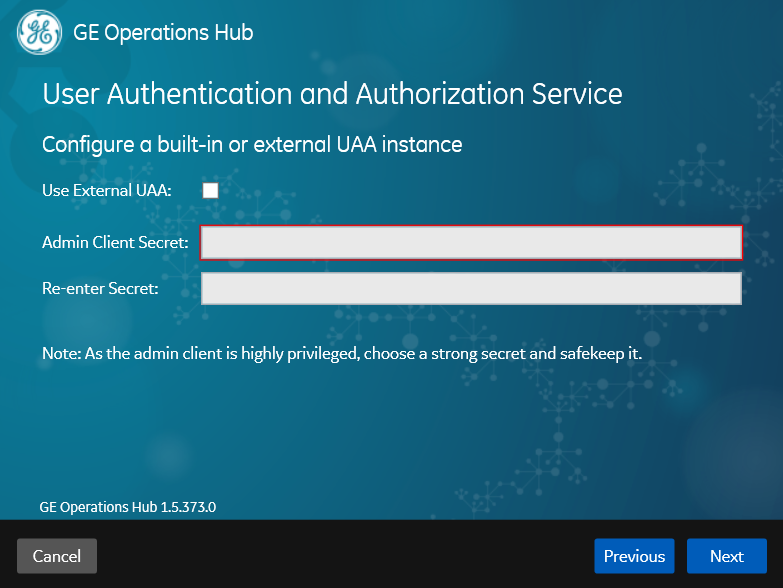
- Select Next.The Create Tenant Admin Account page appears.
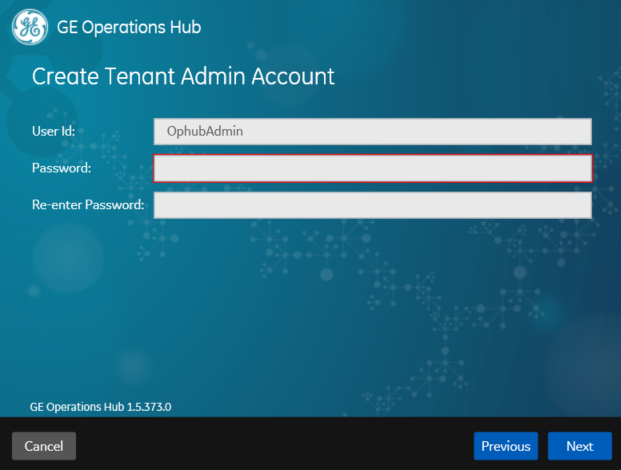
- Provide values as specified in the following table, and then select Next.
Box Description User Id Enter the user ID of the administrator account for Operations Hub. When you provide the tenant user ID, the following conditions apply: - If you are installing Operations Hub for the first time, do not provide StudioAdmin as the tenant user ID because it is used by Operations Hub.
- If you want to use a shared UAA to work with Operations Hub, do not provide the user ID of an existing user of the UAA instance. If you do so, the installation fails.
- If you are reinstalling Operations Hub, do not provide the tenant user ID that you previously provided. This is because even if you purged the data while uninstalling Operations Hub, the user account, along with the groups and privileges assigned to the user, still exists in the UAA instance.
Password Enter a password for the administrator account. Re-enter Password Re-enter the password for the administrator account. The Customize Log Files and Postgres Data Locations page appears.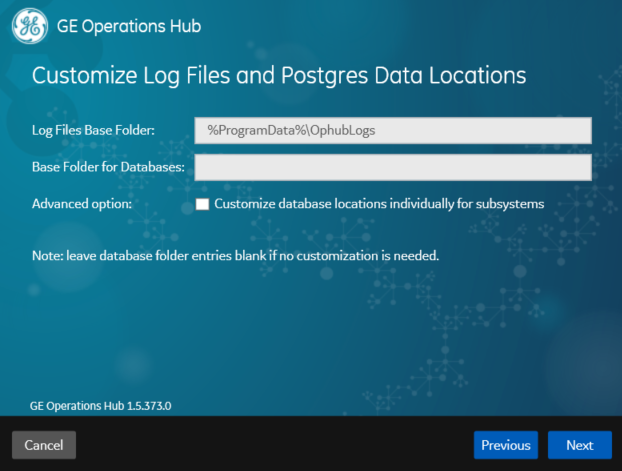
- Provide values as specified in the following table, and then select Next.
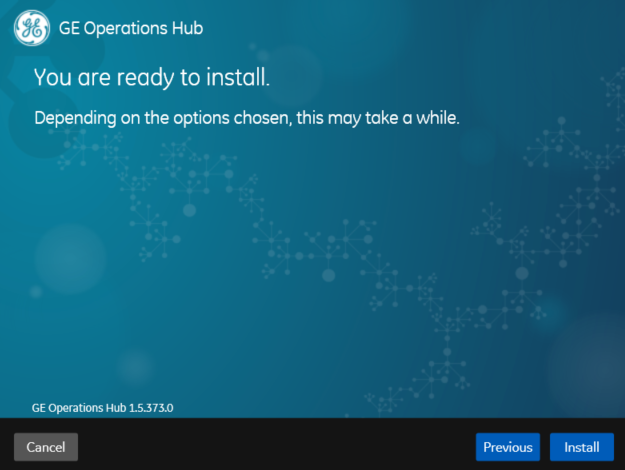
Box Description Log Files Base Folder Enter the path to the log files generated by Operations Hub. By default, the value in this box is %ProgramData%\OphubLogs. Base Folder for Databases Enter the path to the base folder for the UAA, Operations Hub, and WebHMI databases. If you want to use the default folder, leave this box blank. Otherwise, enter the path to the folder that you want to use. Customize database locations individually for subsystems Select this check box if you want to use different folders for each database. UAA Database Folder This box appears only if you have selected the Customize database locations individually for subsystems check box. Enter the database folder that you want to use for UAA. If you want to use the default folder, leave this box blank. IQP Database Folder This box appears only if you have selected the Customize database locations individually for subsystems check box. Enter the database folder that you want to use for Operations Hub. If you want to use the default folder, leave this box blank. WebHMI Database Folder This box appears only if you have selected the Customize database locations individually for subsystems check box. Enter the database folder that you want to use for WebHMI. If you want to use the default folder, leave this box blank. The You are ready to install page appears.