In the left pane, select the checkpoint.
The datasheet for the checkpoint appears.
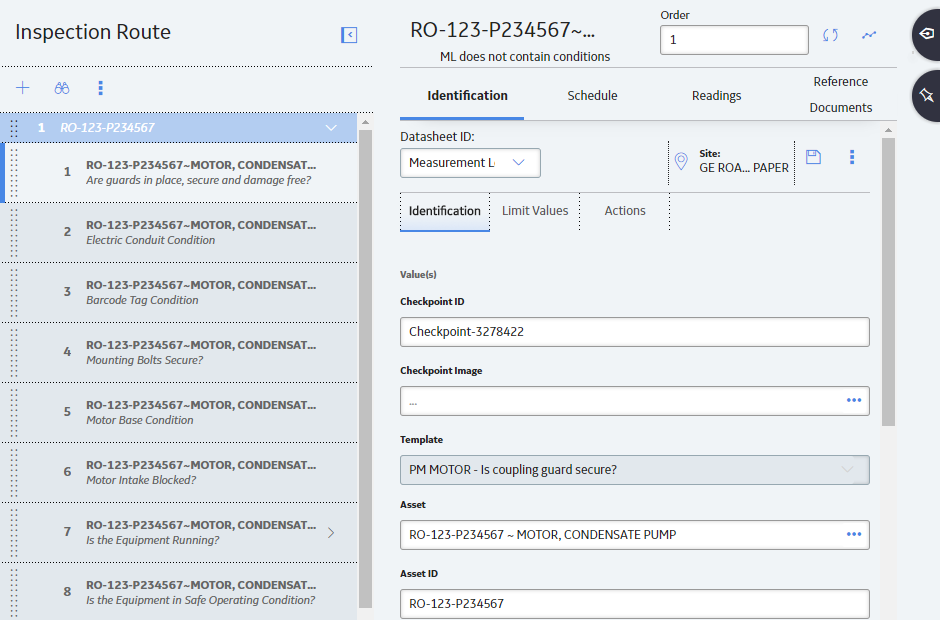
In the datasheet, in the Checkpoint Image box, select
The Select Reference Document window appears, displaying reference documents that are one of the following file types:
- .png
- .jpg
- application/octet-stream

If you have already uploaded the image that you want to display, skip to step 10.
-or-
If you have not previously uploaded the image that you want to display, select Upload Image.
The Select Reference Document window appears.

In the ID box, enter an ID for the reference document.
Note: The ID is what appears to the device user in the Select Reference Document window.
Hint: You should limit the length of the ID to optimize display on the mobile device.
In the Document Path box, select
The Edit Document Path window appears.
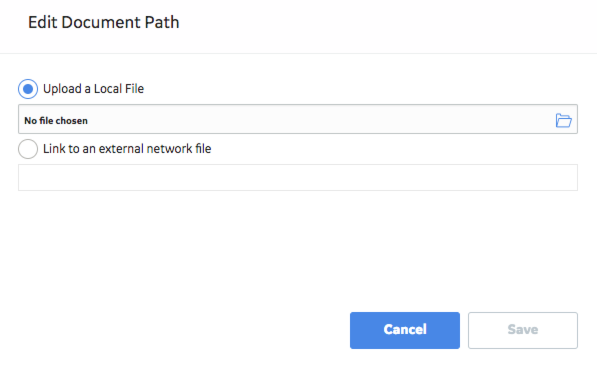
Select the desired document or provide a path to it, and then select Save.
The Document Path box is populated with the path to the selected file.
Select
The new Reference Document record is linked to the selected checkpoint record, and a preview of the image appears in the Select Reference Document window.
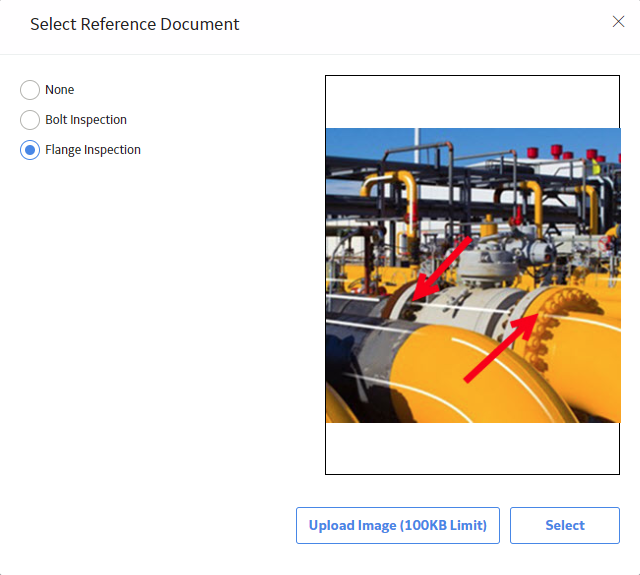
In the Select Reference Document window, select the button next to the image that you want to display, and then select Select.
The image file is added to the datasheet for the checkpoint.
In the upper-right corner of the datasheet, select
