On the Home screen, select View Routes.
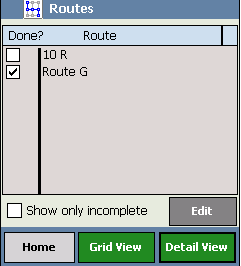
The Routes screen appears, displaying all Route records that were last downloaded.
Select Detail View.
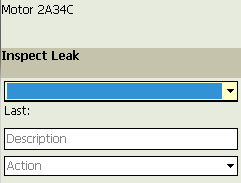
The Readings - Detail screen appears, displaying the first checkpoint associated with the Route.
The order in which the checkpoints appear corresponds to the sequence value of the associated Measurement Location records in the GE Digital APM Framework application. A checkpoint that is associated with a Measurement Location record with a sequence value of 1 will appear before a checkpoint that is associated with a Measurement Location record with a sequence value of 2.
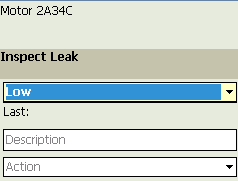
Displayed, then select a reading value from the list.
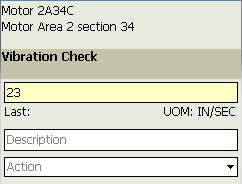
Not displayed, then enter the necessary value.
In the Description text box, enter comments about the reading or the condition of the piece of equipment or location being inspected.
Note: If you did not enter a value for a checkpoint associated with a Measurement Location record whose ML Type value is Character (e.g., you were unable to reach the piece of equipment or location or the piece of equipment was offline), you can use the Description text box to indicate the reason. A Reading record will still be created when you upload data to GE Digital APM. While the Value field will be empty, the Description field will contain your comments.
Select Next.
The reading value is saved, and the next checkpoint along the Route appears. While you are recording readings for a Route, it is helpful to keep in mind that:
- If the reading value you entered triggered an alert, the Readings - Alert screen appears instead of the next checkpoint.
- If the reading value you enter triggers an additional checkpoint to appear, due to a condition defined for the previous checkpoint, the total number of checkpoints on the Route will increase, and the additional checkpoint(s) will appear on the Readings - Grid screen.
At this point, you can:
-
Select No to remain on the current checkpoint.
-or-
- Select Yes to view the Routes screen. These instructions assume that you want to view the Routes screen.
The Routes screen appears, and the Done check box is selected in the row containing the Route that you completed.