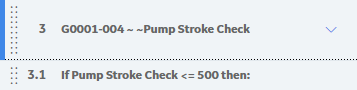
When you create a Checkpoint Condition that is linked to a Measurement Location whose ML Type field contains the value Numeric, the following text appears on the Checkpoint Condition node:
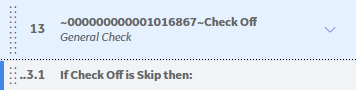
If <ML Category> is <Reading Value> then:
...where:
- <ML Category> is the value stored in the Category field in the Measurement Location. This value is populated automatically after you create the Checkpoint Condition and is used to identify the predecessor Measurement Location whose reading value may trigger the additional checkpoints to appear.
- <Reading Value> is the value that you select from the Select Value list in the workspace for the checkpoint condition.
The following image shows an example of what a character Checkpoint Condition record looks when it is selected in the left pane.
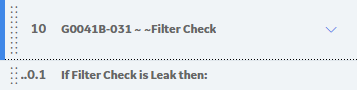
In this image, you can see that Filter Check is the ML Category and Leak is the reading value.