This topic provides samples of the worksheets in the Rounds Route data loader workbook to illustrate the process of creating a Route containing Checkpoint Conditions using the Rounds Route data loader workbook.
When imported into GE Digital APM, this example workbook creates a Route with six checkpoints and two Checkpoint Conditions, as shown in the following image:
This topic assumes that you are familiar with the basic process of creating Routes in a data loader and you are familiar with the fields used in these worksheets. For more information on the fields displayed in the following examples, and for more information on the worksheets contained in the Rounds Route workbook, see the Rounds Route Data Loader Workbook section of the Workbook Layout and Use topic for Rounds Data Loaders. This topic also does not contain information on the Security User worksheet or the Checkpoint Task worksheet.
The Route worksheet specifies IDs used during the data load process as well as Route records used in GE Digital APM.
The value that you specify in the Route ID field determines the name of the Route as it appears in GE Digital APM. For example, note that the ID in this sample worksheet matches the name of the Route in the image at the beginning of this topic.
The Measurement Location worksheet defines values for each checkpoint on the Route.
For Routes with Checkpoint Conditions, to ensure that the Route sequence is loaded as expected, the values for the following fields in the Measurement Location worksheet and the Checkpoint Condition worksheet must match one another:
Measurement Location Worksheet Fields | Checkpoint Condition Worksheet Fields |
---|---|
ML Identifier (ROUNDS_ML_ID) | Parent ML Batch ID (PARENT_ROUNDS_ML_ID) |
Checkpoint ID (MI_CHECK_PT_CHEC_ID_C) | Parent ML ID (MI_CHECK_PT_PR_CHEC_ID_C) |
Parent Condition Batch ID (MI_CHKPCOND_BATCH_ID) | Condition Batch ID (MI_CHKPCOND_BATCH_ID_C) |
Parent Condition Identifier (MI_CHKPCOND_ID_C) | Condition Identifier (MI_CHKPCOND_ID_C) |
For example, note that the value in the ML Identifier and Checkpoint ID fields in the sample Measurement Location worksheet image above match the values in the Parent ML Batch ID and Parent ML ID fields, respectively, in the sample Checkpoint Condition worksheet image below.
The Checkpoint Condition worksheet defines the conditions under which the successor checkpoints for Checkpoint Conditions are displayed in Rounds Data Collection. This worksheet also works together with the Measurement Location worksheet to determine the Route sequence for Routes with Checkpoint Conditions.
As mentioned above, the values defined in the Condition Batch ID and the Condition Identifier are used in the Measurement Location worksheet to specify successor checkpoints for Checkpoint Conditions. Also, the values specified in the Parent ML Batch ID and the Parent ML ID fields must match the values defined in the ML Identifier and Checkpoint ID fields, respectively, for the predecessor checkpoint of a Checkpoint Condition.
No value is required in the Sequence field. However, if a value is entered in this field for Checkpoint Conditions with the same predecessor checkpoint (that is, sibling Checkpoint Conditions), the value you enter in this field determines the sequence of the sibling Checkpoint Conditions.
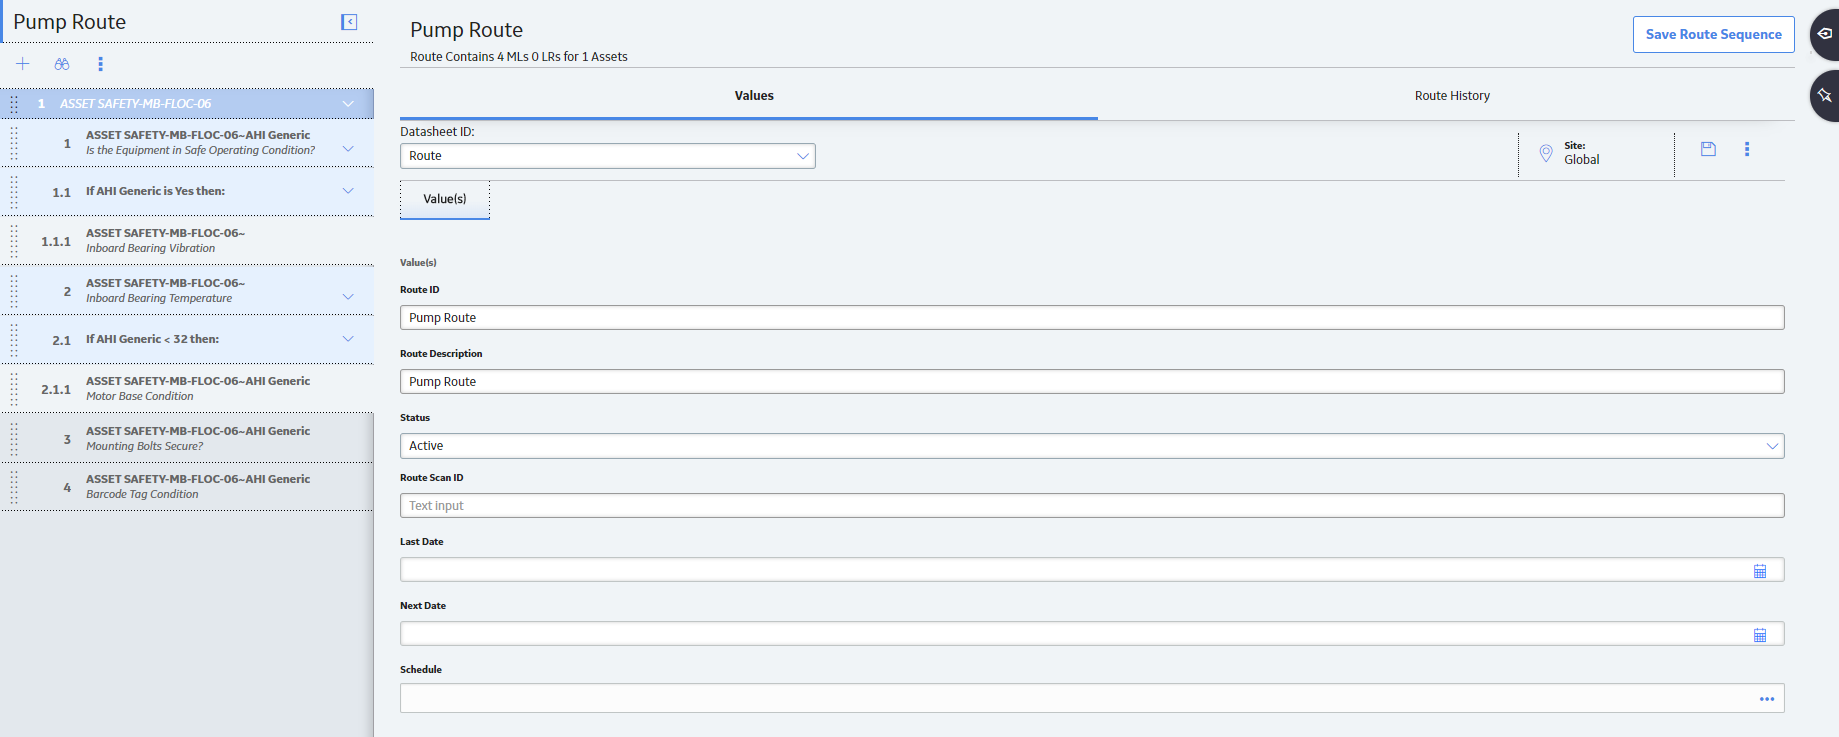
The values you enter in the Possible Condition and Field Value for Character/Numeric Type fields determine the conditions under which the successor checkpoints will appear in Rounds Data Collection. In this sample worksheet, the successor checkpoint of Condition-2 (that is, Checkpoint-14 as defined in the Measurement Location worksheet) will only appear when the reading value for the predecessor checkpoint (Checkpoint-13) is less than 32.
Note: When a predecessor checkpoint has a Type value of Character, the only valid value to enter in the Possible Condition field is is.
Copyright © 2018 General Electric Company. All rights reserved.