On the APM Connect server, navigate to Control Panel\System and Security\System to open system properties for the Windows machine.
The View basic information about your computer screen appears.
In the Control Panel Home pane, select Advanced systems settings.
The System Properties window appears, displaying the Advanced tab.
Select Environment Variables....
The Environment Variables window appears.
In the System variables section, select New....
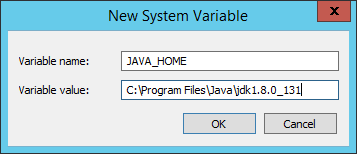
The New System Variable window appears.
JAVA_HOME.In the Variable value box, enter the path to the root jdk installation directory. If you installed Java in the default location, the path you should enter is C:\Program Files\Java\jdk<JAVA_VERSION_NUMBER>. For example, the default path for Java 8 is C:\Program Files\Java\jdk1.8.0_131
In the System variables section, select New....
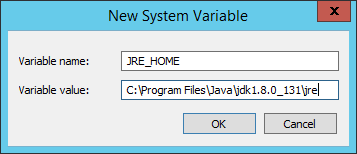
The New System Variable window appears.
JRE_HOME.In the Variable value box, enter the path to the root jre installation directory. If you installed Java in the default location, the path you should enter is C:\Program Files\Java\jdk<JAVA_VERSION_NUMBER>\jre. For example, the default path for Java 8 is C:\Program Files\Java\jdk1.8.0_131\jre
Select OK, and then close the properties window.
The Java environment variables are created.