When you start the application, you can log in to the default server or another Historian
server.
Procedure
From the Start menu, select Programs > Historian > Historian Interactive SQL.
Important: The first time you use ihSQL.exe,
you may need to select Run As Administrator.
Otherwise, you may not be able to log in.
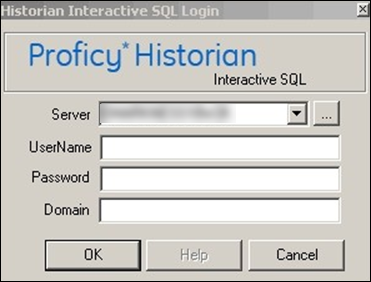
The Historian Interactive SQL Login window
appears.
In the Server field, enter the Amazon Network Load Balancer (NLB) DNS.
Tip: To find the NLB DNS:
Access the EKS cluster on which you have deployed Proficy Historian for AWS.
Access the EC2 instance.
In the navigation pane, under Load Balancing, select Load Balancers.
Select the load balancer for which you want to find the DNS.
In the Description section, copy the DNS name.
Enter the username and password to connect to the server. If you do not enter user credentials, the currently logged-in user is considered. Leave the Domain field blank.
Select OK.
A new session of the Historian Interactive SQL application appears, and it is
connected to the server that you have specified. The session begins with the
default values for SET variables.
Note: If modifications or additions are made to the
list of available Historian servers using any of the Historian clients
(Excel, non-web Administrator, or iFIX WorkSpace: Expression Builder and
iFIX Migration Tools), those settings are global for any Historian clients
running on that computer.