Access Control Panel, then select System and Security, and then select Administrative Tools.
Select AD FS Management.
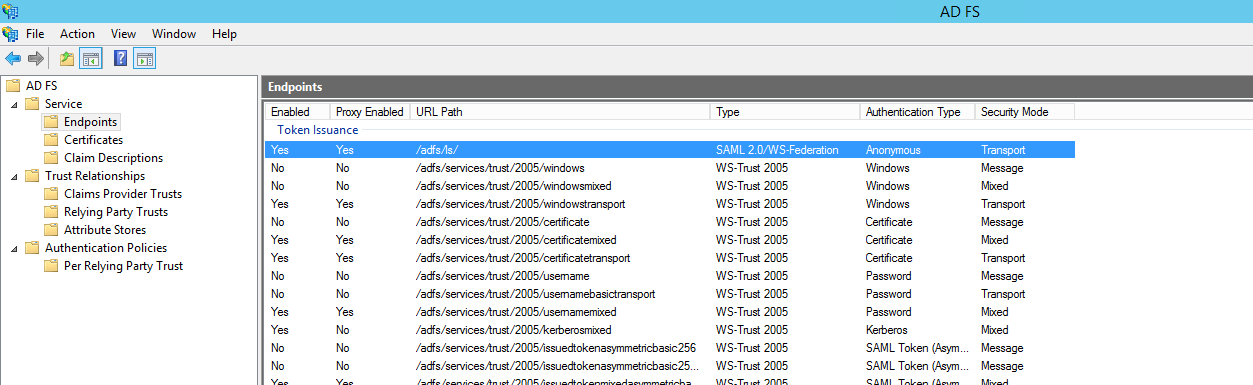
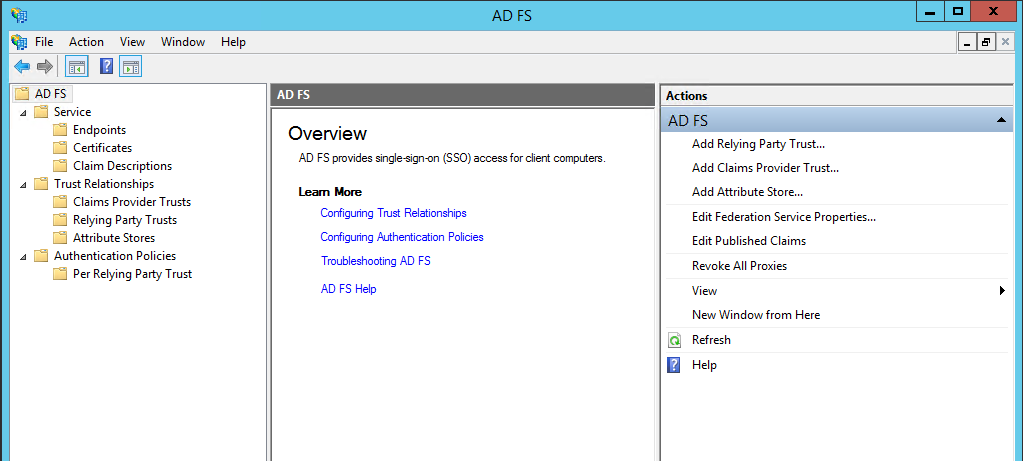
The AD FS window appears.
In the Actions section, select Add Relying Party Trust.
The Add Relying Party Trust Wizard appears.
Select Start.
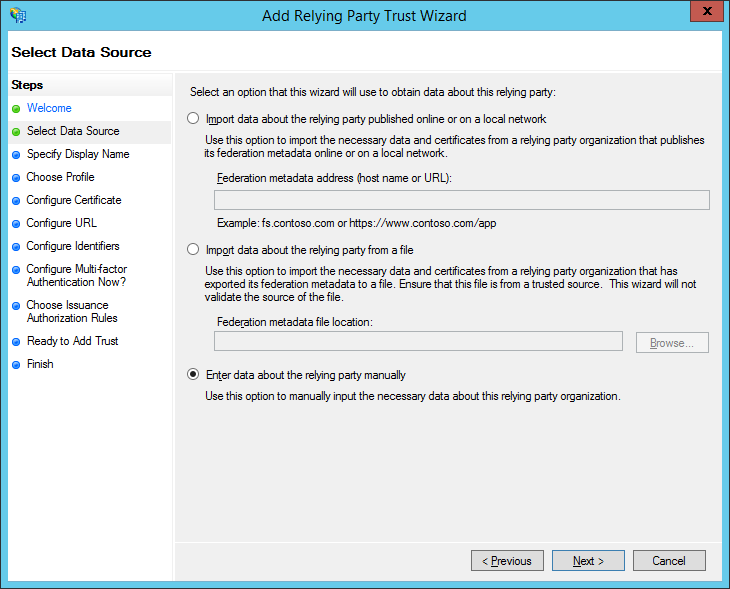
The Select Data Source page appears.
Select Enter data about relying party manually, and then select Next.
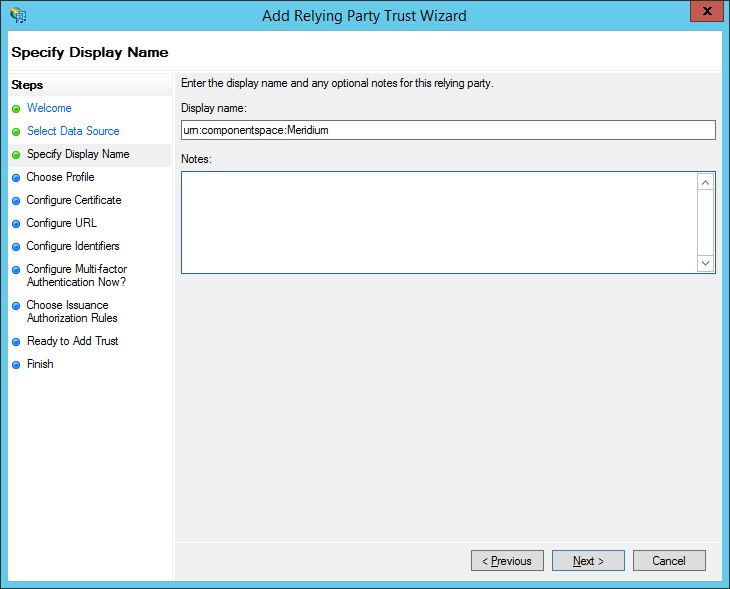
The Specify Display Name page appears.
In the Display name box, enter urn:componentspace:Meridium, and then select Next.
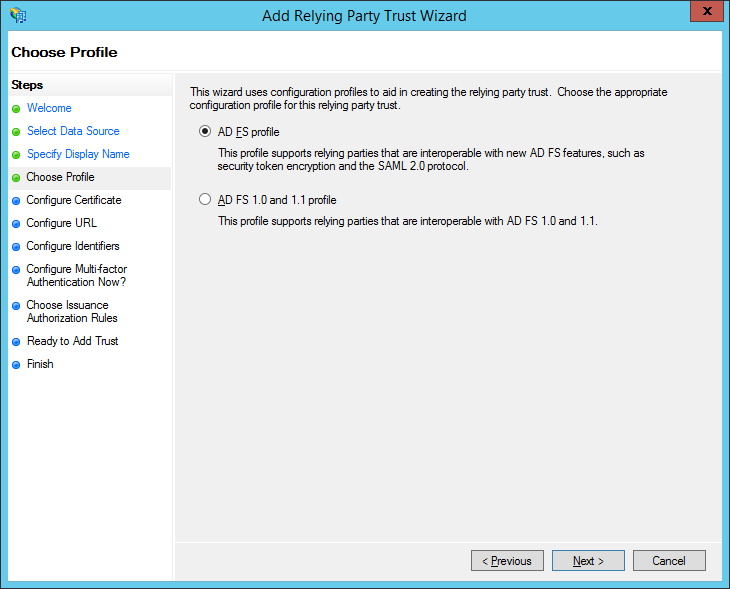
The Choose Profile page appears.
Select the AD FS profile option, and then select Next.
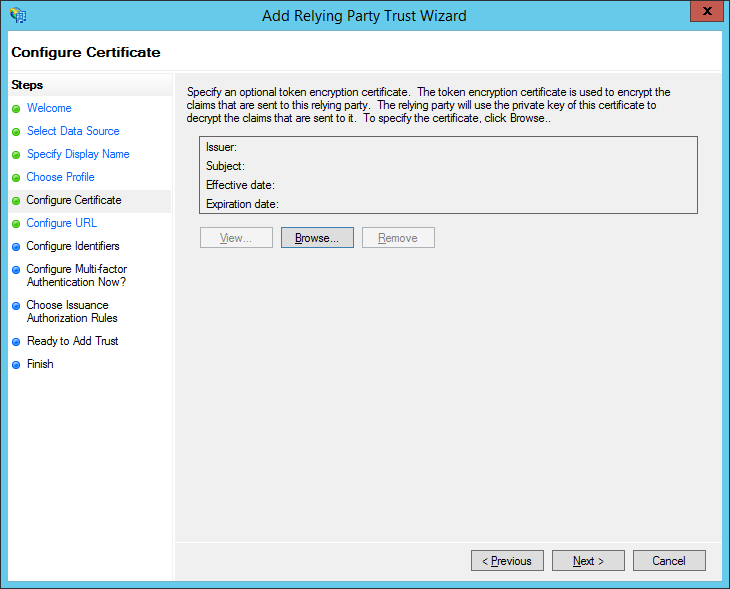
The Configure Certificate page appears.
Select Next.
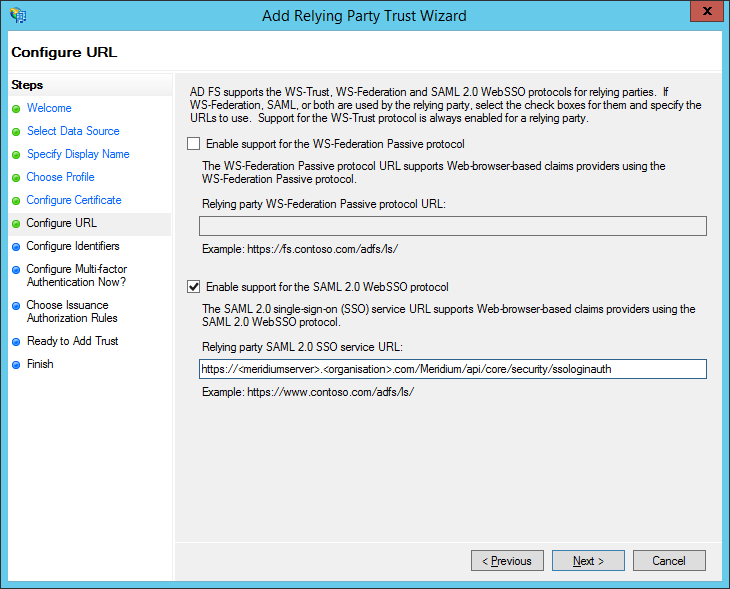
The Configure URL page appears.
Select the Enable Support for the SAML 2.0 WebSSO protocol check box.
In the Relying Party SAML 2.0 SSO service URL box, enter https://<name of the GE Digital APM server>/Meridium/api/core/security/ssologinauth, and then select Next.
Note: The word Meridium is case-sensitive. Therefore, ensure that the first letter of the word is capitalized. Also, the URL must be same as the URL in the saml.config file.
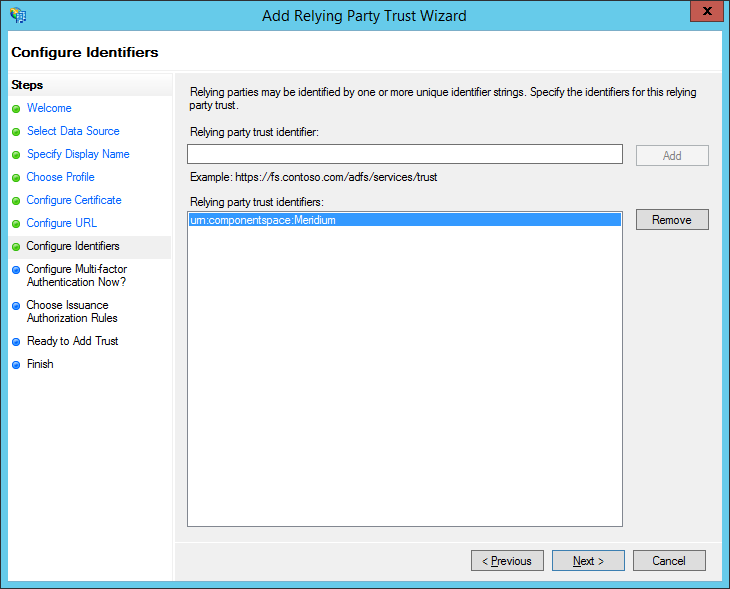
The Configure Identifiers page appears.
In the Relying party trust identifier box, enter urn:componentspace:Meridium, then select Add, and then select Next.
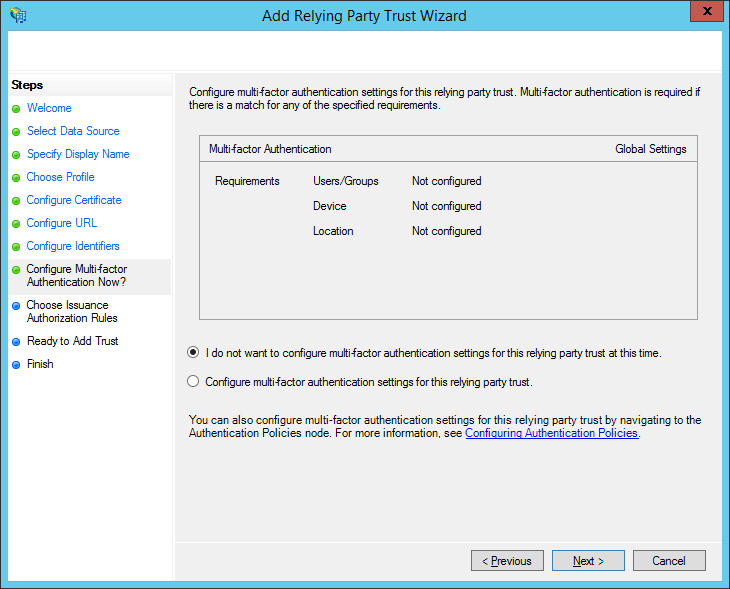
The Configure Multi-factor Authentication Now page appears.
Select I do not want to configure multi-factor authentication settings for this relying party trust at this time, and then select Next.
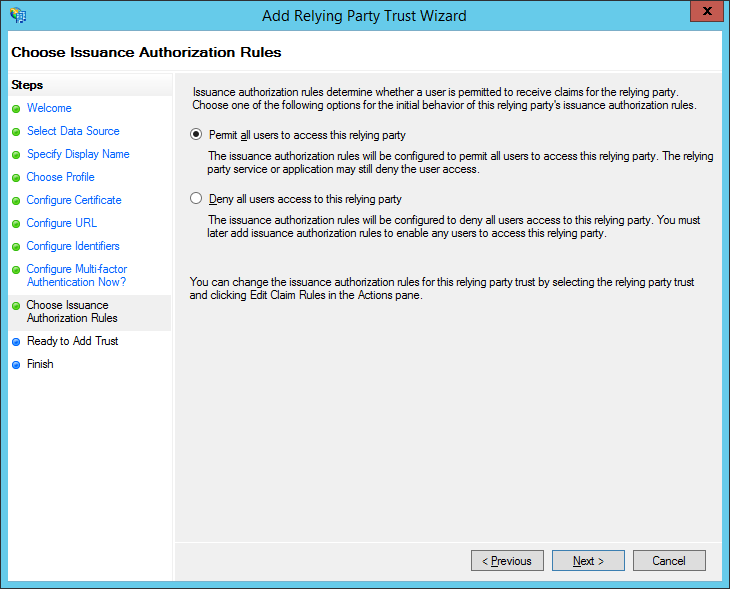
The Choose Issuance Authorization Rules page appears.
Select Permit all users to access this relying party, and then select Next.
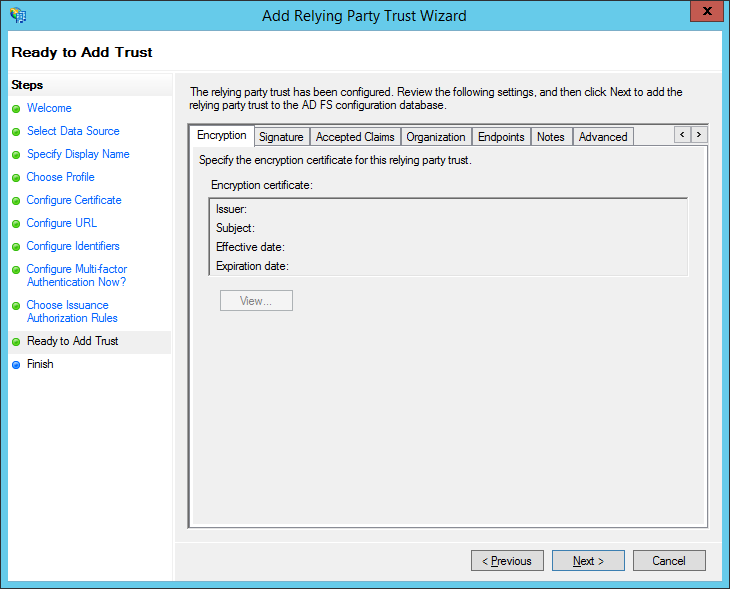
The Ready to Add Trust page appears.
Select Next.
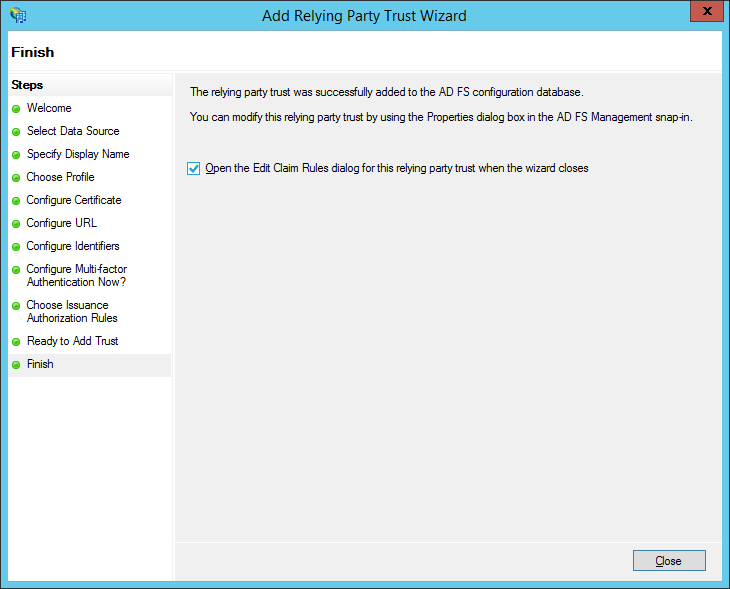
The Finish page appears.
Clear the Open the Edit Claim Rules dialog for this relying party trust when the wizard closes check box, and then select Close.
Add Claim Rules
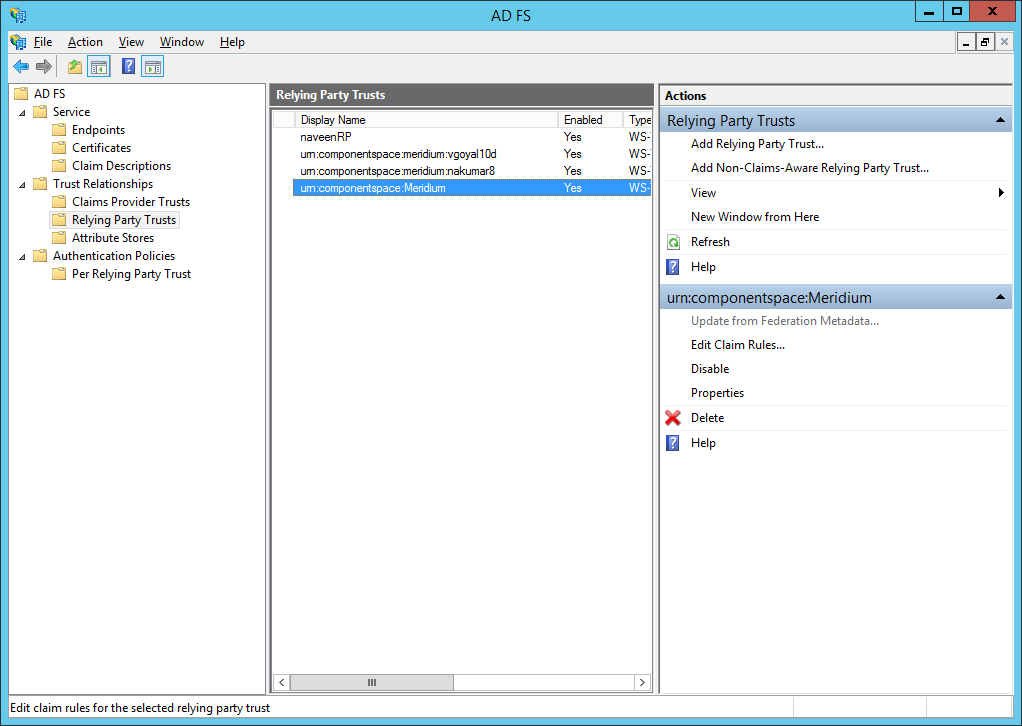
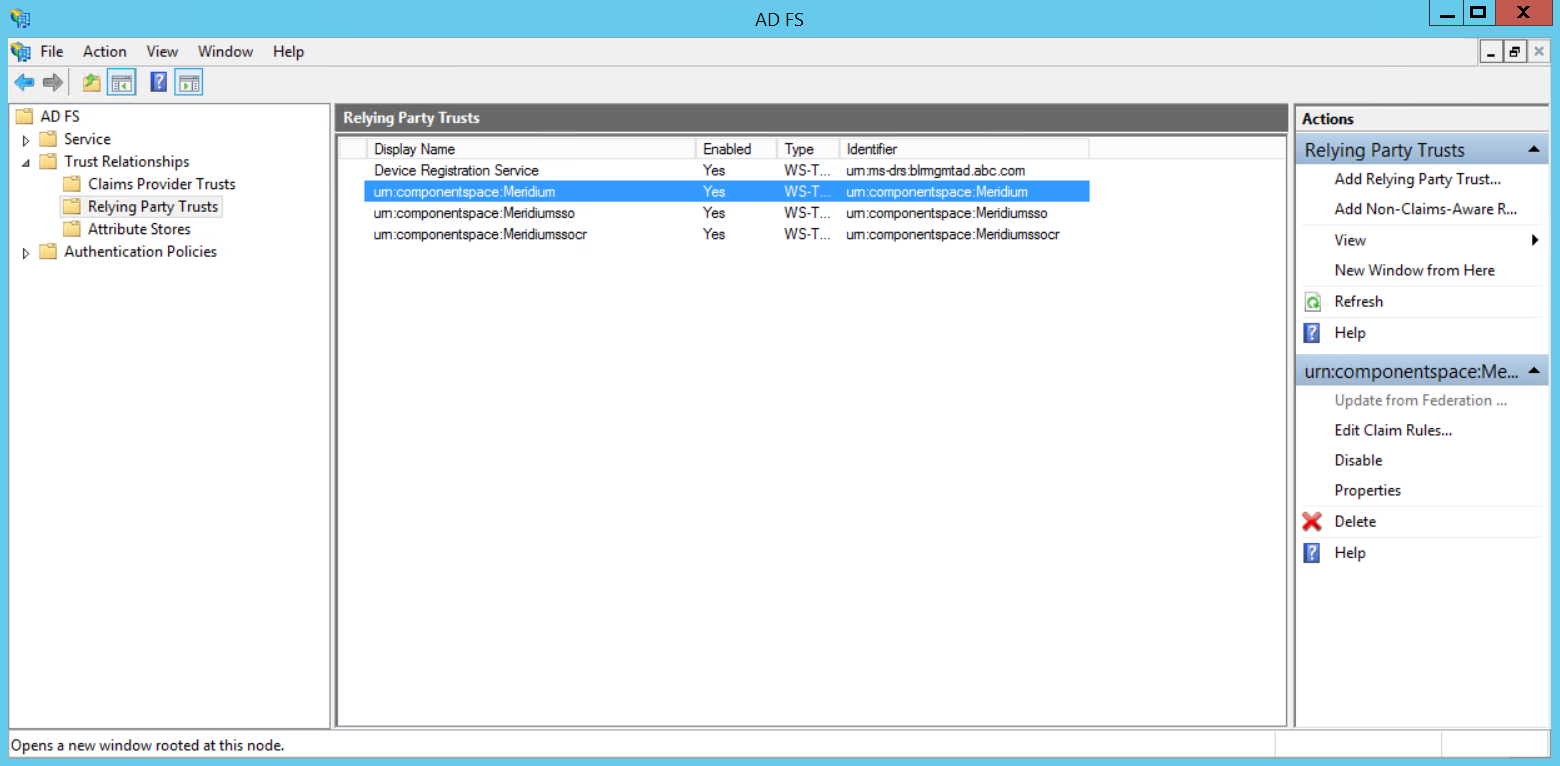
In the AD FS window, expand the Trust Relationships folder, and then select Relying Party Trusts.
The Relying Party Trusts page appears.
Select urn:componentspace:Meridium, and then, in the Actions section, select Edit Claim Rules.
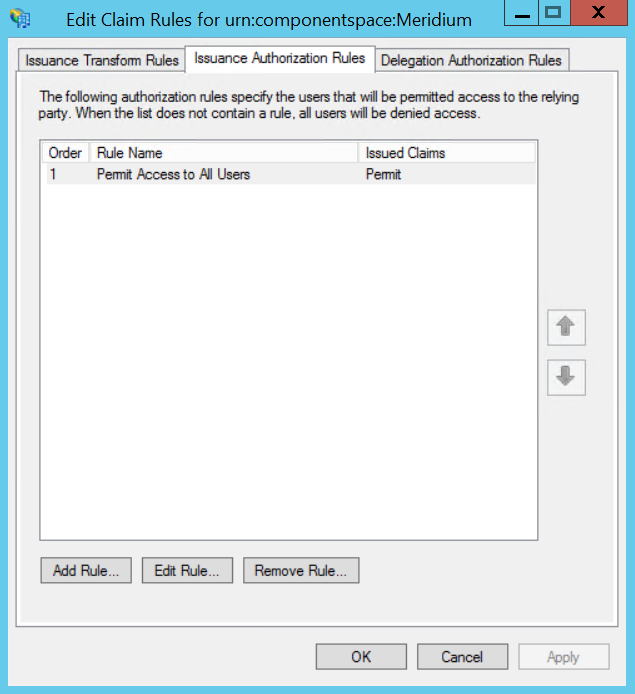
The Edit Claim Rules for urn:componentspace:Meridium window appears.
Select the Issuance Transform Rules tab, and then select Add Rules.
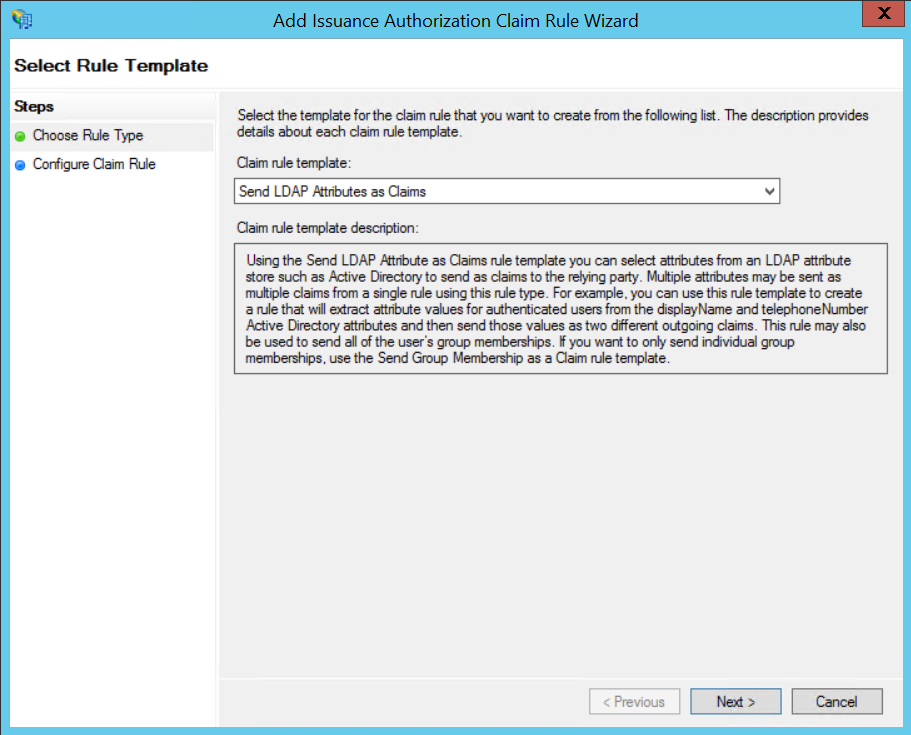
The Add Issuance Authorization Claim Rule Wizard appears.
In the Claim Rule Template drop-down list box, select Send LDAP Attributes as Claims, and then select Next.
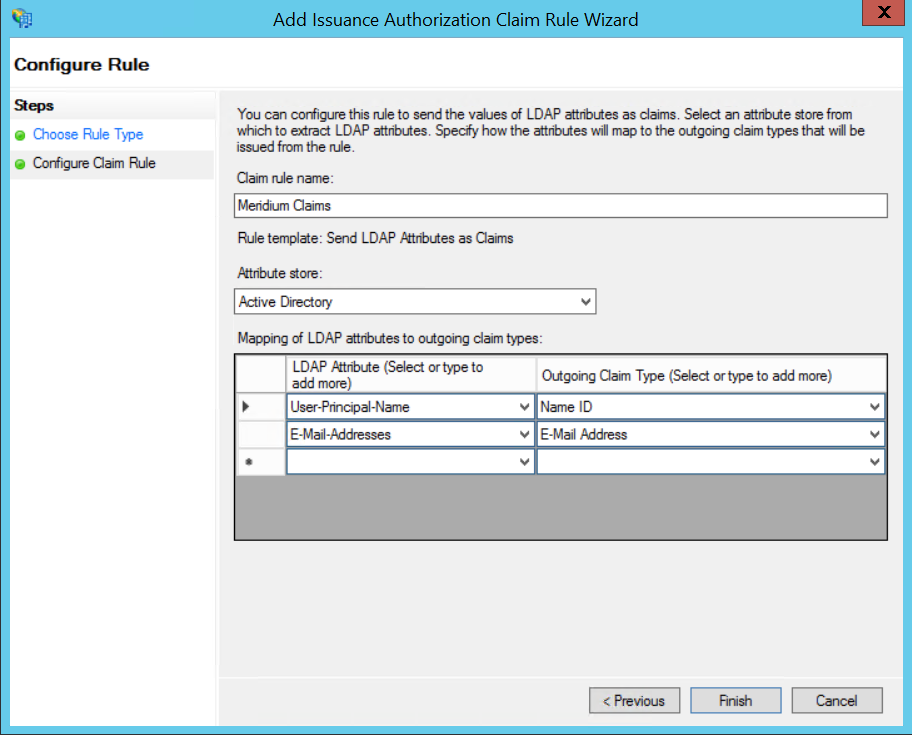
The Configure Rule page appears.
In the Claim rule name box, enter Meridium Claims, and then, in the Attribute Store drop-down list box, select Active Directory.
Perform the following steps:
In the first drop-down list box in the LDAP Attribute column, select User-Principal-Name, and then, in the corresponding Outgoing Claim Type drop-down list box, select Name ID.
In the second drop-down list box in the LDAP Attribute column, select E-mail-Addresses, and then, in the corresponding Outgoing Claim Type drop-down list box, select Email Address.
Select Finish.
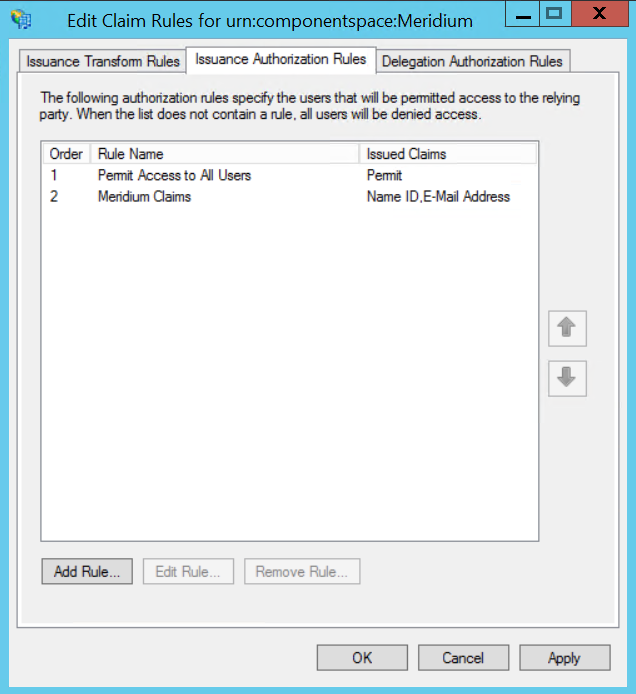
The Edit Claim Rules for urn:componentspace:Meridium window appears.
In the Edit Claim Rules for urn:componentspace:Meridium window, select Apply, and then select OK.
Add Certificates
The public key certificate file is used to verify the signature of authentication request sent from GE Digital APM to AD FS and vice-versa.
To add certificates, you must perform the following tasks on the Application Server:
Navigate to C:\Program Files\Meridium\ApplicationServer\api, where the public key certificate file (sp.pfx) is located.
Note: GE Digital provides the public key certificate file (sp.pfx). pfx is personal information exchange.
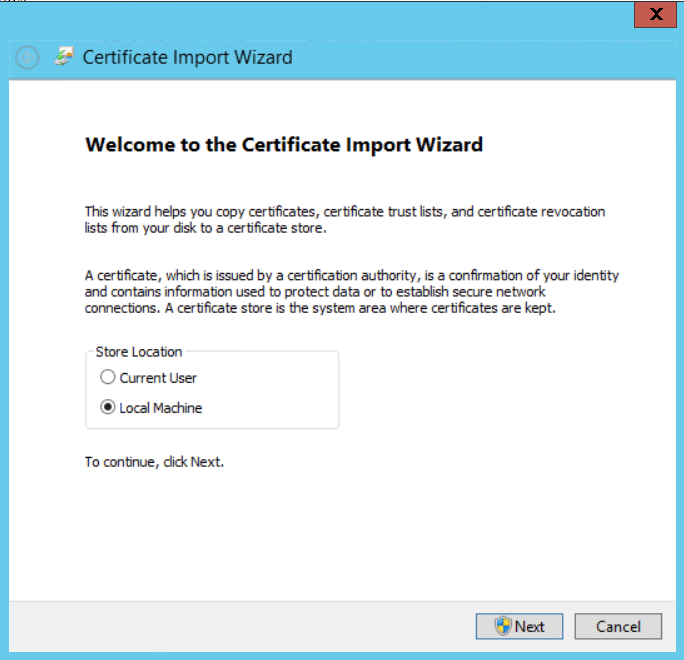
Right-click sp, and then select Install PFX.
The Certificate Import Wizard appears.
Select Local Machine, and then select Next.
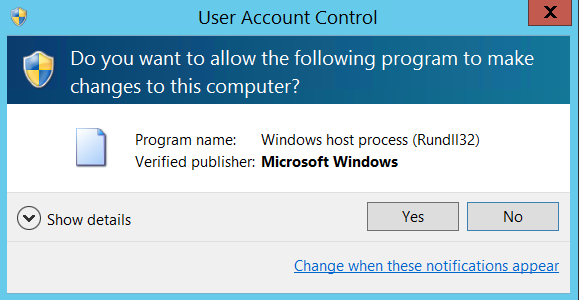
The User Account Control window appears.
Select Yes.
The Certificate Import Wizard appears, and the File Name box displays the file path where the certificate is located.
Select Next.
Enter a password, and then select Next.
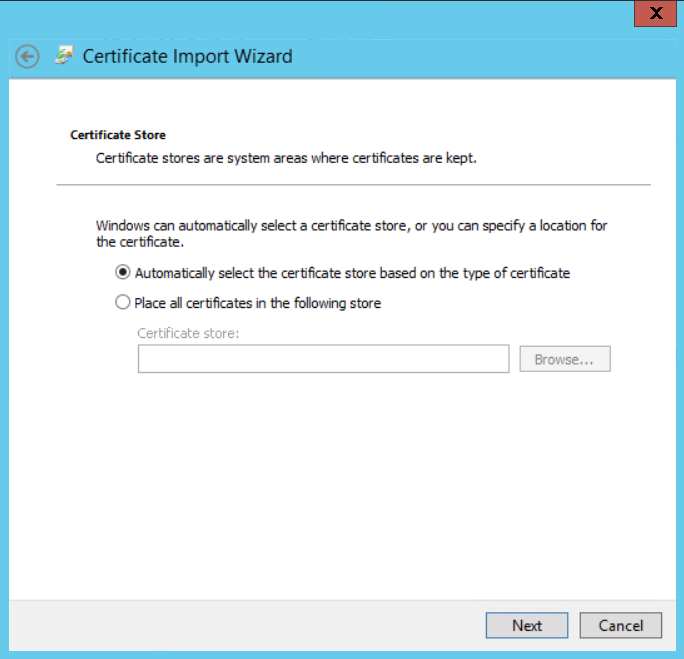
Select Automatically select the certificate store based on the type of certificate.
The Completing the Certificate Import Wizard appears.
Select Finish.
Export the certificate:
Access Microsoft Management Console.
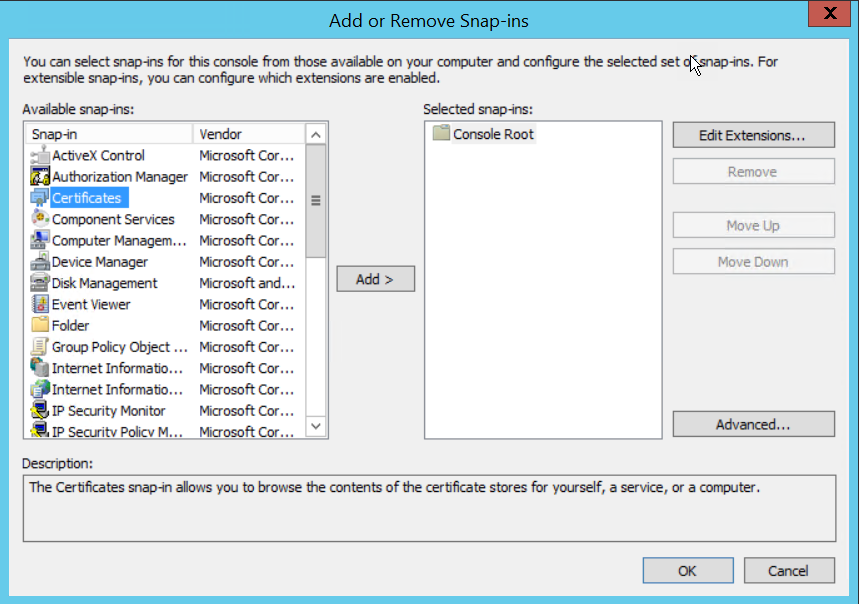
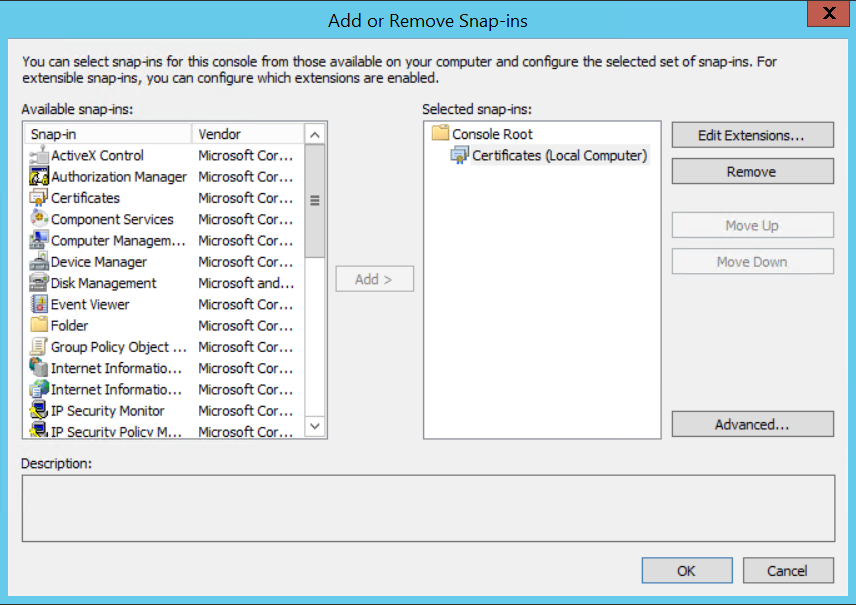
In the main navigation bar, select File, then select Add/Remove Snap-in, and then select Certificates.
The Add or Remove Snap-ins window appears.
Select Add.
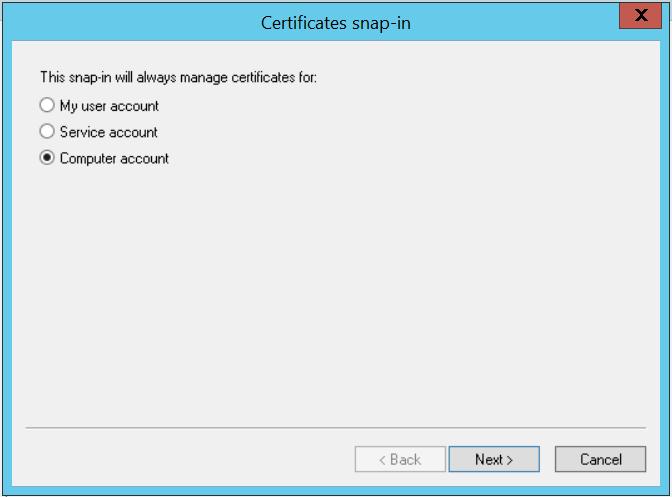
The Certificates snap-in window appears.
Select the Computer account option, and then select Next.
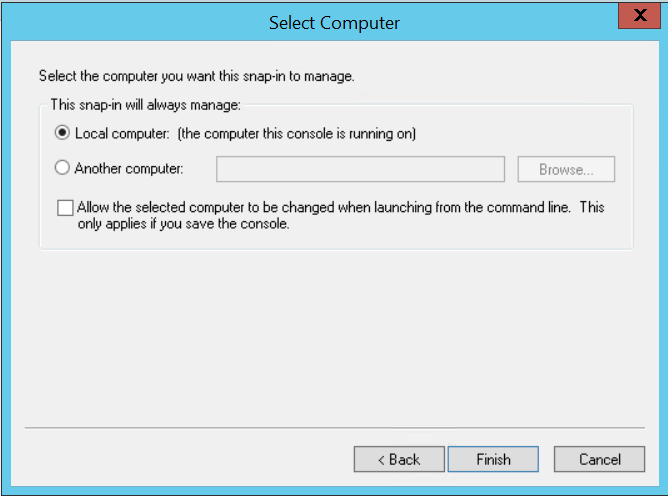
The Select Computer window appears.
Select the Local computer option, and then select Finish.
In the Add or Remove Snap-ins window, select OK.
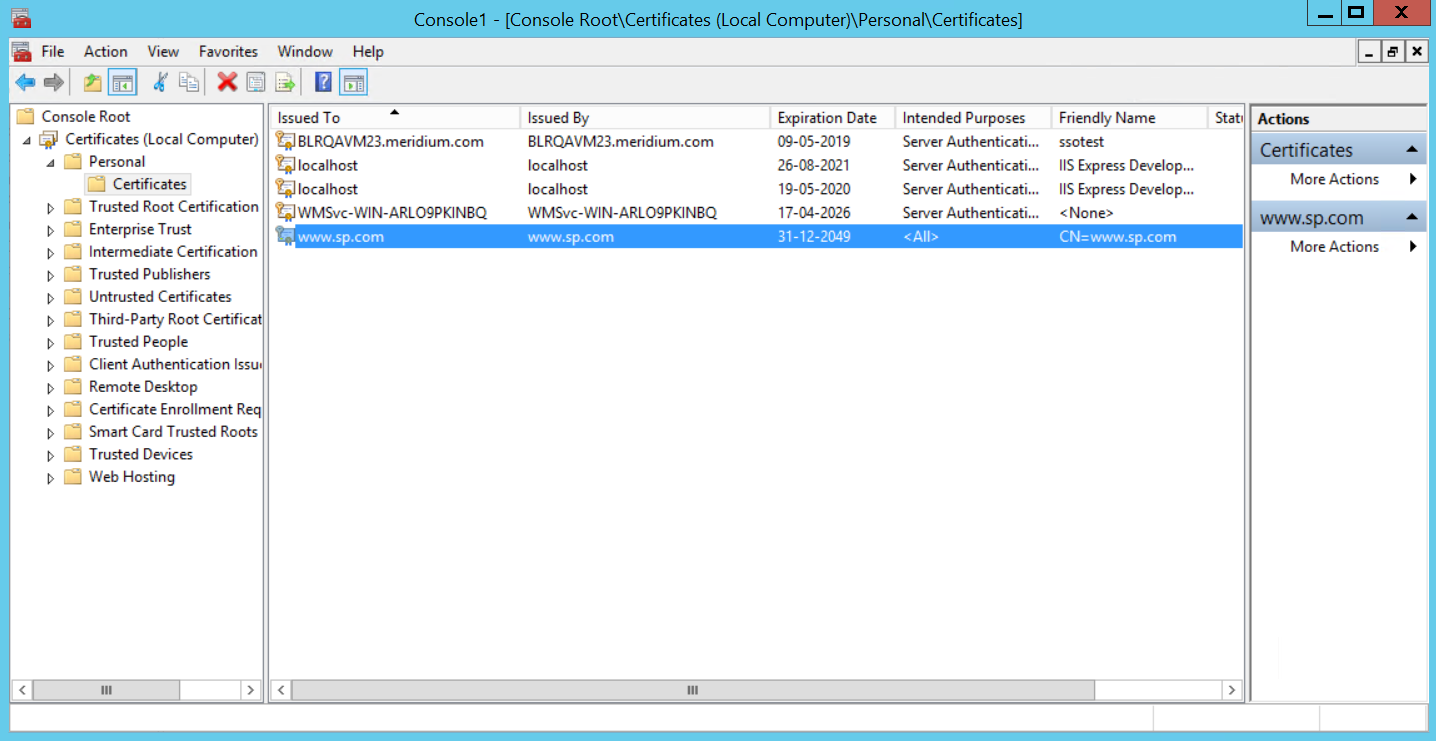
The certificate appears in the Personal > Certificates folder of the Certificates (Local Computer) folder.
Select Certificates (Local Computer), then select Personal, and then select Certificates.
Right-click the certificate that you have installed, select All Tasks, and then select Export.
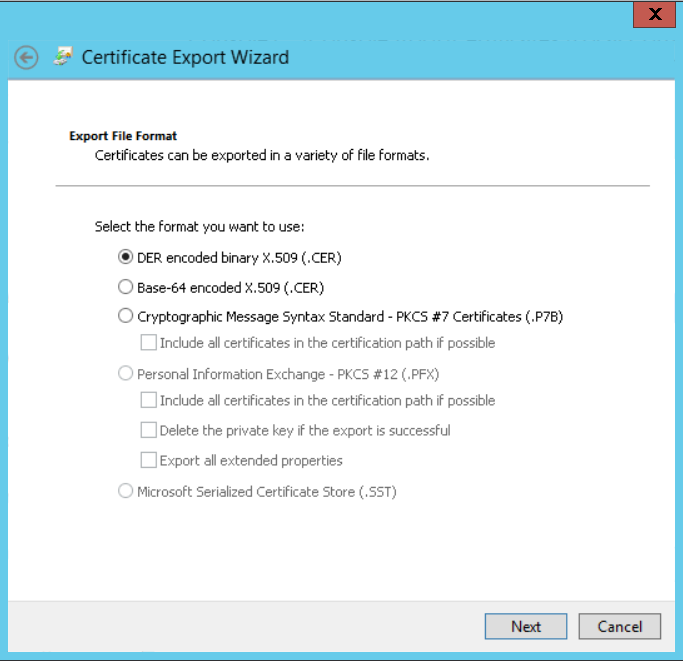
The Certificate Export Wizard appears.
Select Next.
Select the No, do not export the private key option, and then select Next.
Select DER encoded binary X.509 (.CER), and then select Next.
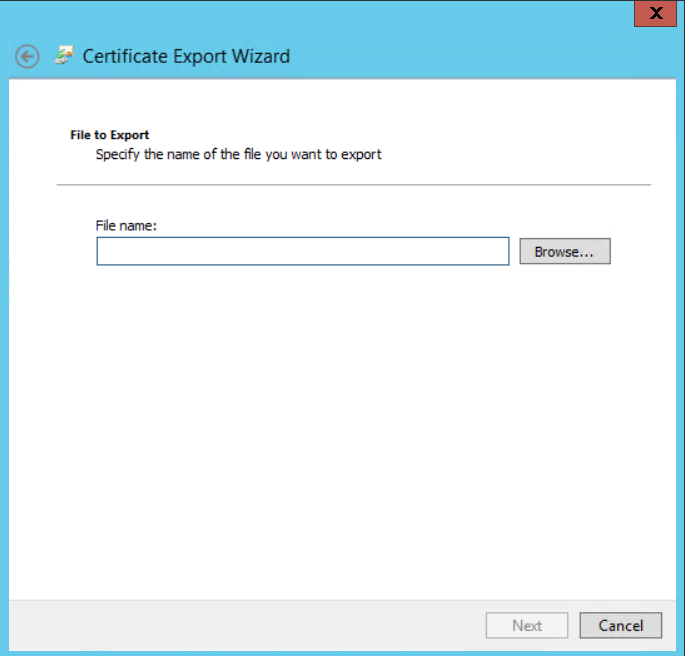
Select Browse, and then navigate to the location to which you want to export the certificate.
In the File name box, enter the same name that was mentioned while installing the certificate, and then, in the Save as type drop-down list box, select DER Encoded Binary X.509 (.cer).
Select Next, and then select Finish.
Copy the certificate to Active Directory:
Access Control Panel, then select System and Security, and then select Administrative Tools.
Select AD FS Management.
The AD FS window appears.
Expand Trust Relationships, and then select Relying Party Trusts.
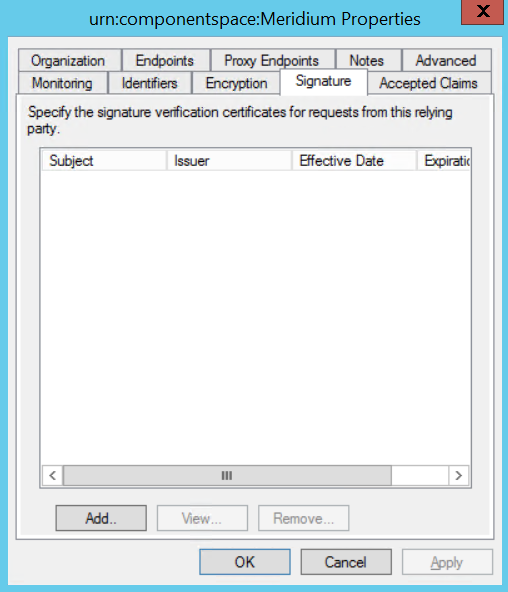
Select urn:componentspace:Meridium, and then, in the Actions section, select Properties.
The urn:componentspace:Meridium Properties window appears.
Select the Signature tab, and then select Add.
Navigate to the location in which you have saved the certificate, and then select the file.
Select Yes to ignore the warning about certificate key length.
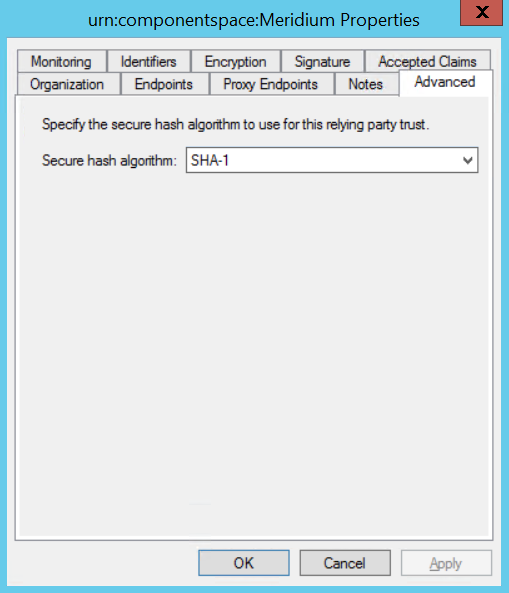
Select the Advanced tab.
In the Secure hash algorithm drop-down list box, based on the policy of your organization, select SHA-1 or SHA-256.
Select Apply, and then select OK.
Install the token signing idp.cer certificate on the Application Server:
Access the Active Directory.
Export the token signing certificate and save the certificate.
Select Finish.
Copy the certificate to the api folder of the application server.
Right-click the file, and then select Install Certificate.
The Certificate Import wizard appears.
Select Local Machine, and then select Next.
Select Automatically select the certificate store based on the type of certificate.