Microsoft Visual Studio 2013 Professional must be installed on every workstation where you want to work with GE Digital rules in the GE Digital APM system.
Microsoft Visual Studio 2015 Shell must be installed after Microsoft Visual Studio 2013 Professional.
MSXML must also be installed on these workstations.
You must be logged in as the administrator for the system.
Steps
On the machine that will serve as the GE Digital APM rules editor, access the GE Digital APM distribution package, and then navigate to the folder \\General Release\Meridium APM Setup\Setup\Admin.
Open the file Setup.exe.
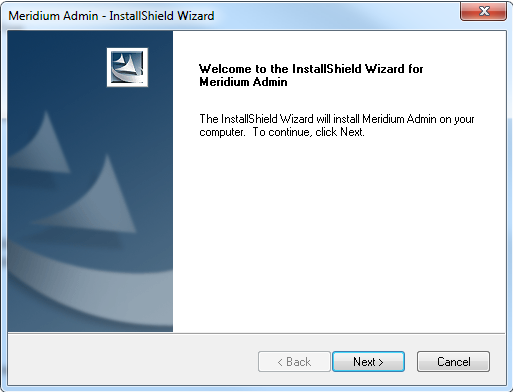
The Meridium Admin - InstallShield Wizard screen appears.
Select Next.
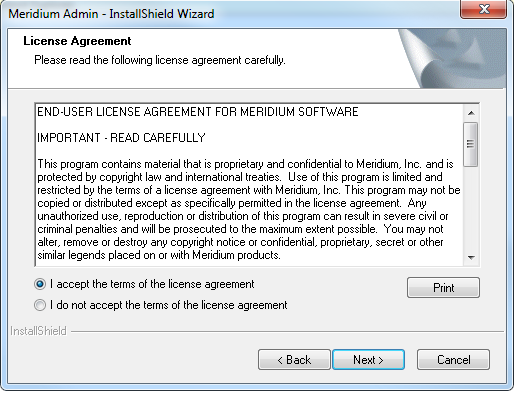
The License Agreement screen appears.
Read the License Agreement and, if you agree, select the
I accept the terms of the license agreement option. Then, select Next button.
The Select Installation
Location screen appears.
Select Next to accept the default location.
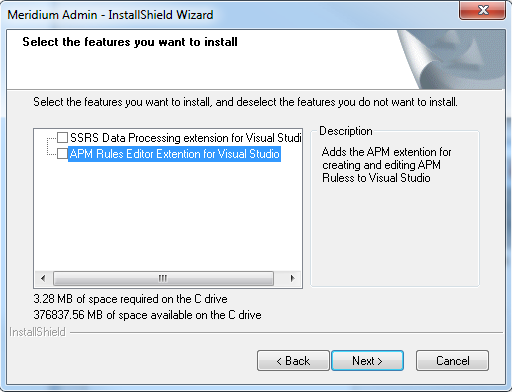
The Select the
features you want to install screen appears.
Select the
APM Rules Editor Extension for Visual Studio option.
GE Digital APM performs a check to make sure that your machine contains the required prerequisites for the features that you want to install. If one or more prerequisites are missing or there is not enough space on the machine, a dialog box will appear, explaining which prerequisites are missing or asking to free up space. If this occurs, close the installer, install the missing prerequisite or free up some space, and then run the installer again.
Select Next.
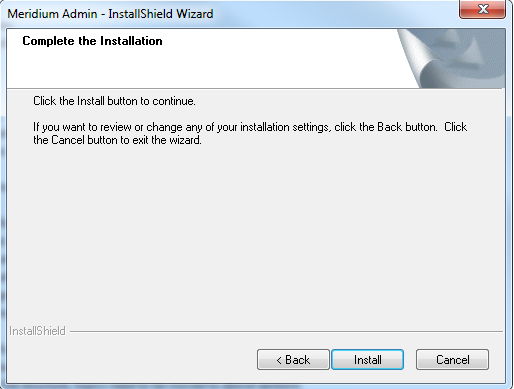
The Complete the Installation screen appears.
Select Install.
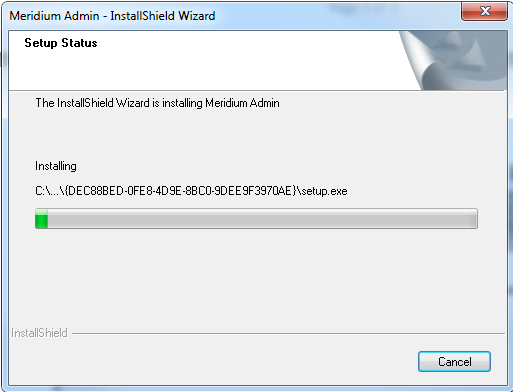
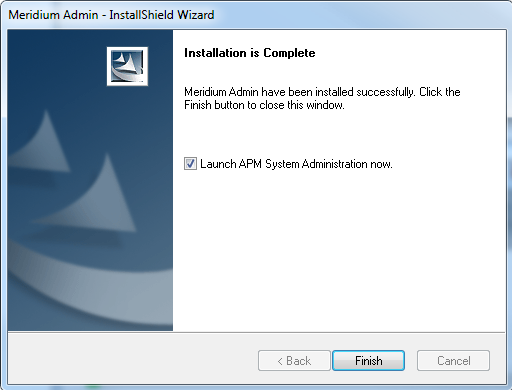
The Setup Status screen appears, which displays a progress bar that shows the progress of the installation process. After the progress bar reaches the end, a message appears, indicating that Meridium Admin is installed successfully. Optionally, you can select to launch the APM System Administration tool when the installer window closes.
Clear the Launch APM System Administration now box, and then select Finish.