In the Menu pane, in the Settings section, select Project authorizations.
The Project Authorizations workspace appears displaying the Project section which lists all the projects to which you can add users and the User Authorizations for the Project: <name> section which lists all users that can be added to the project.
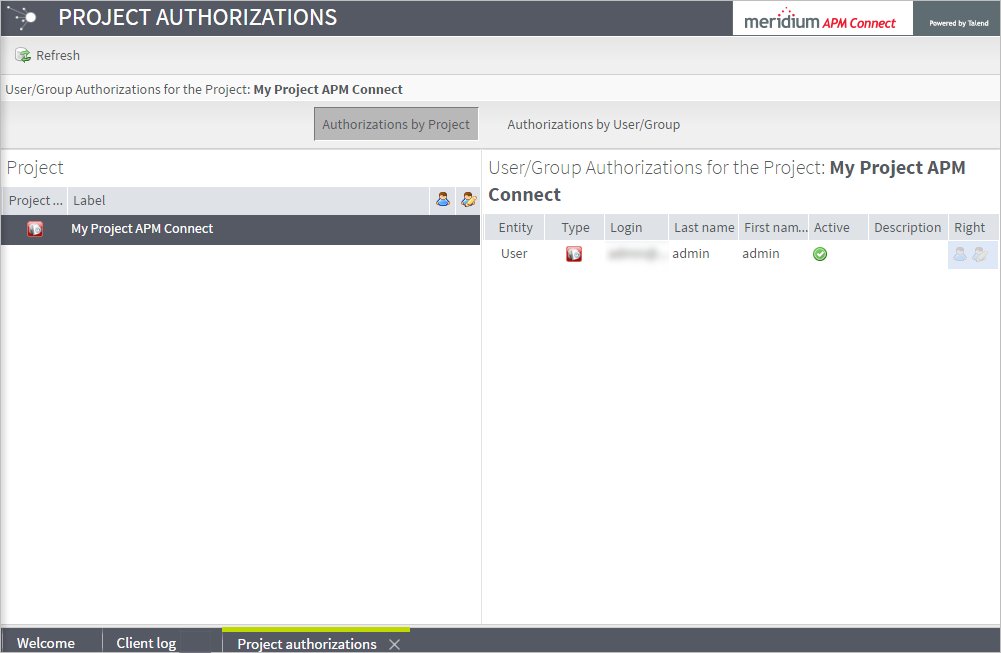
From the Project list, select the project to which you want to add a user.
To give a user read permissions only, in the Right column in the row for that user, select the ![]() button.
button.
To give a user read and write permissions, in the Right column in the row for that user, select the ![]() button.
button.
Hint: The icons in the Right column will be appear in a lighter color if the user is not authorized for a specific action, and be colored if the user has the required permissions.
The user is now authorized for the project.